How to Cover Dark Circles: A Step-by-Step Method
A step-by-step guide to covering dark circles: picking the right corrector, applying thin layers, setting without creasing or caking.
The short answer: thin layers, in the right order
Dark circles are covered best in thin, deliberate layers rather than one full-coverage swipe. The reliable order is: hydrate the under-eye, neutralise the colour you can actually see with a small amount of corrector, then apply a creamy concealer over the darkest part in a narrow triangle, blending the outer edge out into the cheek. Set only the strip where the skin folds, and check the result in daylight before you leave the house.
That order matters because each step solves a different problem. Corrector cancels the blue, purple or brown cast that makes concealer look grey. Concealer adds coverage and light. Powder stops the whole thing sliding into fine lines. Skip a step and the others have to work harder — which is exactly when under-eye makeup starts to look heavy, chalky or creased.
What to have to hand before you start
You do not need a drawer full of products. You need one corrector that matches the colour you are covering, one concealer that matches your skin once blended, and a way to apply both thinly. Everything below is a category, not a shopping list.
- Concealer texture
- Creamy and flexible, medium to full coverage. Very matte liquids tend to look flat and emphasise lines under the eye.
- Corrector shade
- Peach or salmon for blue and purple tones, yellow for brown or grey-brown tones. Richer orange for deeper skin tones with strong blue circles.
- Applicator
- Clean ring finger, a small flat brush, or a damp sponge — whichever lets you place the thinnest layer.
- Setting powder
- Finely milled translucent powder and a small brush or damp sponge to press it in.
- Eye cream
- A light hydrating cream, pressed in five to ten minutes before makeup so it has time to absorb.
- Lighting
- A window with daylight, or a lamp in front of you. Overhead light hides grey casts and unblended edges.
Work out what you are actually covering
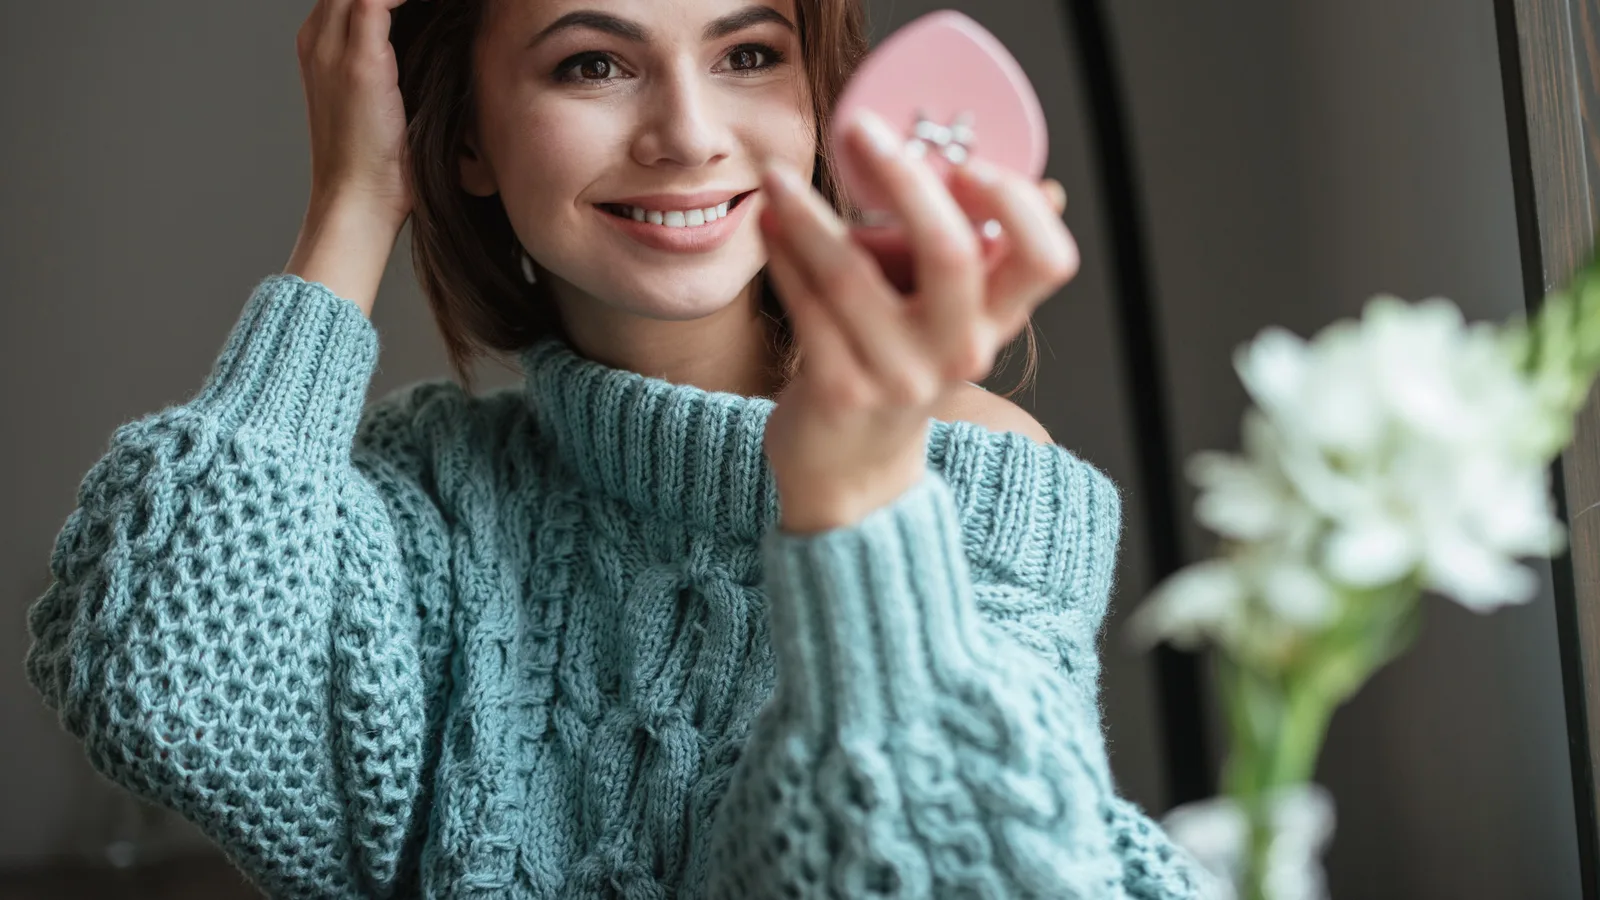
"Dark circles" covers at least four different things, and they do not respond to the same makeup. Look at your bare face in daylight with a hand mirror before you decide on a routine.
What you see
Most likely cause
- Blue or purple tint
- Thin skin over veins, common on fair and olive skin
- Brown or grey-brown patches
- Pigmentation, often hereditary or from sun exposure
- A dipped shadow under the inner eye
- A hollow or tear trough, not pigment
- Dry, crepey texture
- Dehydration, or thinner skin with age
- Puffiness with a crease line
- Fluid retention, allergy or tiredness
What to do
- Blue or purple tint
- Peach or salmon corrector under a medium-coverage concealer
- Brown or grey-brown patches
- Yellow-based corrector, or a slightly fuller concealer used on its own
- A dipped shadow under the inner eye
- Lighter concealer placed just below the hollow to bounce light; extra coverage makes it look worse
- Dry, crepey texture
- Hydration first, a creamy concealer, and almost no powder
- Puffiness with a crease line
- Cooling and a minute of gentle pressure before makeup; makeup sits on top and cannot remove it
How to cover dark circles, step by step
1. Start with hydrated skin, then wait five minutes
Cleanse gently and press a light eye cream into the under-eye with your ring finger. Give it five minutes before any makeup. A slippery base is the main reason concealer migrates into the inner corner by mid-morning. If your skin is very dry, a hydrating primer on the same area helps the concealer sit evenly.
2. Colour correct only where the colour is
Look at your bare under-eye in daylight. If you see a distinct blue, purple or brown cast, tap a pinhead-sized amount of corrector onto that patch only, not across the whole socket. Blend until you can barely see where it ends. If your under-eye is shadowed rather than coloured, skip this step.
3. Warm a small amount on the back of your hand
Put a grain-of-rice-sized amount onto the back of your hand. Body heat makes the formula easier to spread thinly, and having it off the applicator means you pick up a little at a time instead of drawing a thick stripe straight onto your face.
4. Place it in a narrow triangle, not a half-moon
Dot concealer along the darkest line under the eye and a little at the inner corner, stopping before the lashes if that is where your skin folds. A small downwards triangle that tapers towards the cheekbone lifts the area; a thick crescent under the whole eye flattens it and creases first.
5. Tap, do not sweep
Press the product in with your ring finger or a damp sponge using small tapping motions. Sweeping drags product across the skin, pushes it into fine lines and lifts the corrector underneath. Work from the inner corner outwards so the outer edge is the last thing you blend.
6. Blend the outer edge into bare skin
The edge is what gives away under-eye makeup. Use a clean fingertip or the corner of a sponge to soften the border until it disappears into your cheek and towards the temple. A visible line usually means the edge is unblended, not that you used too little product.
7. Build a second layer only if you need it
Wait about thirty seconds for the first layer to settle, then look again — most of a stubborn circle is covered by now. If not, add a second thin layer on the darkest spot. Two thin layers always beat one thick one.
8. Set only the part that creases
Press a tiny amount of finely milled translucent powder into the line where the under-eye folds, using a small brush or a damp sponge. Leave the rest of the area unpowdered so it keeps some glow. Brush away any excess with a clean fluffy brush.
9. Check in daylight before you go
Step to a window and look straight ahead, then tilt your chin down. Fix a grey cast with a warmer touch of corrector, not more concealer, and soften any edge you can still see with a clean fingertip.
Colour correcting without the orange halo
A corrector is pigment, not coverage. Its job is to cancel a colour, so it should disappear once concealer goes on top. If peach or orange still shows through, you have used too much or the shade is too strong for your skin.
- Fair skin with blue or purple circles usually suits a soft peach or salmon.
- Medium and olive skin usually takes a warmer peach or apricot.
- Deep skin tones often need a richer orange or red-orange corrector, with a concealer close to the skin tone over it.
- Brown circles rather than blue ones respond better to yellow or a light peach, which neutralises without turning the area grey.
Apply it only on the coloured patch, blend the edges, and give it a few seconds to settle before concealer.
Making it last through a long day
Under-eye makeup rarely fails all at once; it fails at the inner corner and in the crease first. Two habits make the biggest difference: use less product than you think you need, and keep powder to the strip that actually folds.
- Blot before you top up. If the area looks shiny mid-afternoon, press it with a tissue and add a tiny amount of concealer over the top. Layering more powder over shine is what creates a cracked finish.
- Keep your hands off. Touching, rubbing and resting your chin on your hand lift concealer faster than anything else.
- Reapply with a tapping motion. A fingertip dab on the darkest spot takes seconds; re-blending the whole area in an office mirror usually makes it worse.
- Never powder over powder. A second dusting sits on top of the first and separates.
What usually goes wrong, and the fix
Problem
Why it happens
- Grey or ashy finish
- Concealer too light or too cool for your skin
- Creasing within an hour
- Too much product in an area that moves constantly
- Cakey, flaky patches
- Dry skin under a matte formula
- Obvious edges
- Product stops short and is not softened into the cheek
- Gone by lunchtime
- Nothing set it, or it was touched or rubbed
The fix
- Grey or ashy finish
- Go a shade warmer, and use corrector underneath rather than a paler concealer
- Creasing within an hour
- Thinner layers, and powder only in the fold
- Cakey, flaky patches
- Hydrate first and switch to a creamier texture
- Obvious edges
- Blend the outer edge with a clean sponge or fingertip
- Gone by lunchtime
- Press in a small amount of powder and keep hands away from the area
Looking after the skin underneath
Under-eye skin is among the thinnest on the face, so how you apply and remove makeup matters as much as the makeup itself.
- Wash sponges and brushes weekly in warm soapy water and let them dry fully. A damp sponge left in a bag is a quick route to irritation.
- Sharpen pencils before each use and wipe the tip.
- Do not share correctors, concealers or applicators, especially during a cold sore or any eye infection.
- Remove with a gentle cleanser and your fingertips. Soften any stubborn product first rather than dragging with a dry pad.
- Patch test a new corrector on the jawline or inner arm if your skin is reactive.
When makeup is not the whole answer
Some circles are shadows. If the darkness sits in a hollow under the inner eye and fades when you look up into a mirror held above your face, concealer will not remove it — the shape is catching shadow, not pigment. A lighter concealer placed just below the hollow, plus a touch of light along the cheekbone, does more than full-coverage product packed into the dip.
Lifestyle factors are real but slow: sleep, daily sun protection (pigmentation deepens with UV), not smoking, and treating any underlying allergy or hay fever that has you rubbing your eyes. None of these show a result overnight, so do not judge them after a week.
If circles bother you a great deal and makeup genuinely is not enough, tear-trough fillers and similar treatments exist, but they are a medical decision for a qualified practitioner — not something to book on the strength of a before-and-after photograph.
Common questions about covering dark circles
Should concealer go under or over foundation?
Can I use my blemish concealer under my eyes?
How do I stop concealer settling into lines under my eyes?
Does wearing concealer make dark circles worse?
One under-eye is much darker than the other — what should I do?
Do I need a corrector if my concealer is full coverage?
Related articles
How to Apply Foundation: The Best Way, Step by Step
The best way to apply foundation is thin layers, the right tool and a good colour match. Here is the step-by-step method, plus fixes for common mistakes.
Looks, Step by Step
How to Store Makeup Brushes: The Best Way to Keep Them Clean
Keep brushes dry, shaped and dust-free with upright jars, divided drawers and travel rolls — plus the damp-bathroom mistake to avoid.
Looks, Step by Step
How to Clean a Beautyblender: Step-by-Step Washing Guide
A simple, safe way to wash a Beautyblender: the everyday method, a deeper clean for set-in foundation, how to dry it properly and what to avoid.
Looks, Step by Step
How Do You Apply Concealer? A Step-by-Step Guide
How to apply concealer properly: prep the skin, match the shade, blend under the eyes and cover blemishes without caking or creasing.
Looks, Step by Step
How to Cover a Hickey With Makeup (and Make It Last)
Concealer alone leaves a grey patch. Colour correct, conceal and set a hickey properly so it stays hidden through daylight, hugs and a full day out.
Looks, Step by Step
How to Apply False Eyelashes (Strip and Individual)
A step-by-step guide to applying false eyelashes cleanly at home, from trimming and gluing the strip to fixing lifting corners and removing safely.
Looks, Step by Step
How to Apply Makeup Step by Step (With Photo Checks)
A step-by-step makeup routine you can follow and check as you go: skin prep, base, brows, eyes, cheeks and lips, plus fixes for common mistakes.
Looks, Step by Step
How to Apply Mascara Without Clumps or Smudges
Learn how to apply mascara cleanly in a few minutes: prepare lashes, curl, build coats from the roots, avoid clumps and remove it safely.
Looks, Step by Step
How to Choose Concealer Colour: Match Undertone and Job
Match concealer to your undertone and to the job in hand — dark circles, spots or redness — using a daylight test, corrector guidance and quick fixes.
Looks, Step by Step
How to Choose a Foundation Shade That Actually Matches
Match foundation properly: work out your undertone in daylight, swatch three shades along the jaw, allow for oxidation, and check against your neck.
Looks, Step by Step
How to Clean Makeup Brushes: A Step-by-Step Guide
Wash make-up brushes without wrecking the bristles: the short answer, a step-by-step method, drying tips and how often each brush needs a clean.
Looks, Step by Step
How to Do a Natural Makeup Look: Step-by-Step Guide
Learn how to do a natural makeup look in order: skin prep, sheer base, soft brows, wash of colour and a tinted lip, plus fixes for common mistakes.
Looks, Step by Step
How to Do Eye Makeup for Hooded Eyes: A Step-by-Step Guide
Learn how to do eye makeup for hooded eyes: where to place shadow, liner shapes that survive the fold, and fixes for smudging and transfer.
Looks, Step by Step
How to Do Winged Eyeliner for Beginners, Step by Step
A beginner's step-by-step guide to winged eyeliner: choosing a liner you can control, finding your flick angle, building the wing and fixing mistakes.
Looks, Step by Step
How to Get Makeup Out of Clothes: Stain-by-Stain Guide
Blot, lift the oil, then wash: a step-by-step guide to removing foundation, lipstick, mascara and powder from clothes without spreading the stain.
Looks, Step by Step
How to Look Good Without Makeup: A Practical Daily Routine
A practical, no-nonsense guide to looking good without makeup: skin prep, brow and lash grooming, colour, and fixes for what usually goes wrong.
Looks, Step by Step
How to Remove Make-up Properly, Step by Step
How to remove make-up properly, step by step: cleanse eyes first, double cleanse, and avoid the tugging and scrubbing that irritates skin.
Looks, Step by Step
How to Remove Mascara Gently, Without Losing Lashes
A step-by-step guide to taking off mascara gently — including waterproof formulas, lash extensions and the mistakes that leave residue behind.
Looks, Step by Step
How to Remove Waterproof Mascara Without Losing Lashes
Waterproof mascara needs oil, not water. Here's the gentle step-by-step removal method, plus fixes for residue, stinging and lash loss.
Looks, Step by Step
How to Stop Mascara Smudging: A Practical Guide
Stop mascara smudging with a practical routine: prep oily lids, apply less, shield the under-eye and set with powder. Plus fixes for panda eyes.
Looks, Step by Step
How to Use Colour Corrector: A Step-by-Step Guide
Colour corrector neutralises redness, dark circles and sallowness before concealer. Learn which shade to pick, how much to use and how to apply it.
Looks, Step by Step
How to Use Highlighter Makeup: Placement, Blending and Order
Learn where to place highlighter, which formula to use and how to blend it so it flatters your skin tone instead of sitting in patches.
Looks, Step by Step
How to Use Laura Geller Makeup: Baked Powders, Step by Step
A step-by-step guide to using Laura Geller baked powders: priming, swirling, tapping and buffing foundation, blush, eyeshadow and highlighter.
Looks, Step by Step