How to Use Highlighter Makeup: Placement, Blending and Order
Learn where to place highlighter, which formula to use and how to blend it so it flatters your skin tone instead of sitting in patches.
The short answer
Highlighter is a light-reflecting makeup product used on the high points of the face — the tops of the cheekbones, the brow bone, the bridge of the nose and the cupid's bow. The aim is a soft, believable glow, not a stripe of shimmer.
Use a small amount, choose a formula that suits your skin, and apply it in this order: cream or liquid highlighter after foundation and concealer but before setting powder; powder highlighter after powder. Blend the edges until they disappear, then build only if you want more. If you remember one rule, make it this: the brightest point should be no wider than your fingertip.
What you need before you start
- A base that has settled: foundation and concealer applied, and left for a minute so they don't move under your fingers.
- A highlighter in a formula you can control: cream or liquid for a dewy finish, powder for a more polished one.
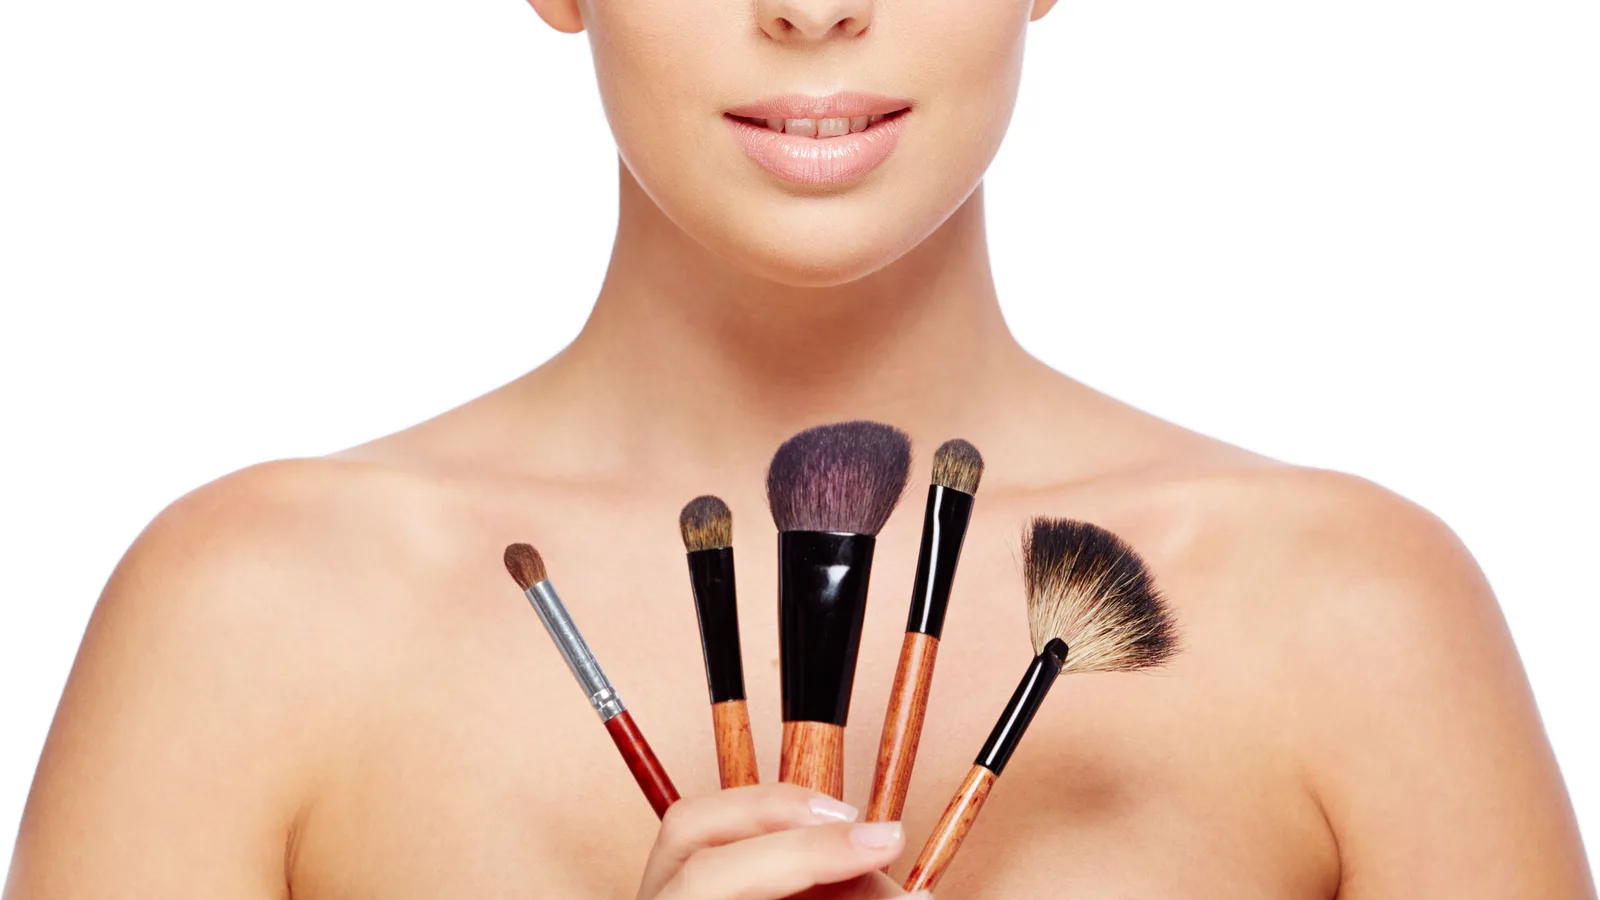
- A damp makeup sponge, clean fingers, a small tapered brush and a fan brush. You don't need all four; a sponge and one brush will do.
- A tissue or blotting paper for mistakes.
- Daylight, or the brightest room in the house. Overhead bathroom lighting can make you apply far too much.
Pick the formula that suits your skin
Cream, liquid and powder highlighter do different jobs.
Feature
Cream
- Finish
- Dewy and skin-like
- Best for
- Dry or normal skin
- When to apply
- Before setting powder
- Tools
- Fingers or damp sponge
- Watch out for
- Moving the foundation underneath
Liquid
- Finish
- Sheer and buildable
- Best for
- All skin types, especially mixed with base
- When to apply
- Before foundation or mixed with it
- Tools
- Fingers, sponge or stippling brush
- Watch out for
- Droplets drying unevenly
Powder
- Finish
- Reflective and polished
- Best for
- Oily skin and long days
- When to apply
- After powder and setting
- Tools
- Small tapered brush or fan brush
- Watch out for
- Emphasising pores and texture
Cream and liquid highlighters melt into the skin and look most natural on dry or normal skin. Powder highlighters reflect more light and last longer on oily skin, but they can catch on dry patches. If your skin is combination, use cream on the cheeks and a light dusting of powder on the brow bone.
Find your placement points
Highlighter belongs where light naturally hits your face. With a bare face, look in a mirror under a window: the points that catch the light are your guide.
- Tops of the cheekbones, angled up toward the temple.
- Brow bone, just under the arch — keep it small.
- Inner corner of the eye, a dot no bigger than a pinhead.
- Bridge of the nose, a narrow line; avoid the tip if you don't want it to look wider.
- Cupid's bow, a tiny amount.
- Centre of the chin, only if you want a balanced glow.
- Collarbones, for evenings or bare-shoulder outfits.
Don't highlight every point at once. Two or three is usually enough for daytime.
How to apply highlighter, step by step
1. Start on a settled base
Apply foundation and concealer as usual, then wait a minute. If you're using cream or liquid highlighter, keep powder off the cheekbones and brow bone for now — highlighter applied over powder can turn patchy. If you're using powder highlighter, set your base first.
2. Take less than you think you need
For cream or liquid, dab a grain-of-rice amount onto the back of your hand. For powder, tap the brush into the pan and then tap off the excess. You can always add more; taking it off is harder.
3. Place cream or liquid highlighter first
Use your fingertip or a damp sponge to tap the product onto the tops of your cheekbones and, if you want, the brow bone. Tap rather than sweep. Stop the cheekbone line before it reaches the centre of your face, or the glow will read as shine.
4. Blend the edges while the product is still damp
Press a clean damp sponge along the edge of the highlighter and work outward in short, light presses. Don't rub across the whole cheek. The centre should stay bright; the edges should fade into your foundation with no visible line.
5. Add powder highlighter only where you want more reflection
Use a small tapered brush for a precise beam or a fan brush for a softer wash. Apply to the same points, but keep the powder area slightly smaller than the cream area. A little powder over cream adds staying power; too much looks chalky.
6. Build in thin layers, not one heavy coat
Wait ten seconds between layers so you can see the true finish. One layer is usually enough for daytime; two is plenty for evening. If the highlighter starts to look metallic, stop and blend the edges again.
7. Check in daylight and fix the edges
Take a hand mirror to a window and look straight on, then turn your head to the side. Any hard line needs pressing out with a clean sponge. If the whole area looks too shiny, press a tiny amount of translucent powder over the outer edge only — not over the brightest point.
8. Set the rest of your face, not the highlight
If you set your T-zone, avoid the tops of the cheekbones. Setting powder dulls the reflection you've just created.
Blending rules that make the difference
Blending is where most highlighter goes wrong. The goal is not to move the product across your face; it is to soften the boundary between highlighter and skin.
- Use pressing motions with a damp sponge or clean fingers. Sweeping drags foundation and leaves streaks.
- Blend the edges, not the centre. If you blend the middle, you lose the glow and spread shimmer over the whole cheek.
- Work one area at a time. Do the cheekbones, then the brow bone, then the inner corner.
- Keep a clean sponge nearby. A sponge that already has foundation on it will dilute the highlighter and make it patchy.
- If you use a brush, use a small one. A big fluffy brush puts shimmer everywhere.
Choose a shade that flatters your skin tone
Highlighter should look like a slightly brighter version of your skin, not a different colour painted on top.
- Fair skin: champagne, soft pearl or icy pink. Avoid stark white, which can look chalky.
- Light to medium skin: champagne, peach or soft gold.
- Medium and olive skin: warm gold, rose gold or bronze. A silver-toned highlighter can look ashy.
- Deep skin: copper, bronze, rich gold or rose gold. Very pale highlighters can leave a grey cast.
These are starting points, not rules. Test a small amount on your cheekbone in daylight; if it looks like a stripe rather than a glow, it is either too light, too dark or too shimmery for you.
Common mistakes and how to fix them
Most highlighter problems come down to amount, placement or texture.
What you see
Why it happens
- A visible stripe
- Product applied in a straight line and not blended at the edges
- Patchy or cakey finish
- Cream highlighter over powder, or too much product
- Pores look larger
- Shimmer sitting in texture
- The glow disappears by lunchtime
- Cream highlighter not set, or powder brushed away
- Whole face looks shiny
- Highlighter placed too close to the centre of the face
The fix
- A visible stripe
- Press the edges out with a damp sponge; keep the brightest point small
- Patchy or cakey finish
- Remove with a tissue and reapply a thinner layer on a less powdered base
- Pores look larger
- Switch to a finer, less glittery formula and apply with a small brush
- The glow disappears by lunchtime
- Layer a little powder highlighter on top, or set only around it
- Whole face looks shiny
- Keep it to the outer cheekbone and brow bone; blot the T-zone
Daytime versus evening
For daytime, use one thin layer and keep the shimmer fine. Place highlighter on the cheekbones and brow bone only, and skip the nose if you have an oily T-zone. The finish should be visible when you turn your head, not from across the room.
For evening, you can build a second layer and add the inner corner of the eyes, cupid's bow and collarbones. Keep the formula consistent: cream on cream, powder on powder. Mixing a heavy cream highlighter with a chunky glitter powder is what makes highlight look like stage makeup.
For photographs, avoid large glitter particles. They can catch the flash and show up as white dots, while a fine shimmer reads as a smooth glow.
Highlighter on eyes, lips and body
- Inner corner: a tiny dot blended toward the bridge of the nose opens the eye. Don't take it under the lower lash line if your eyes water.
- Cupid's bow: a small amount on the dip above the lip, blended upward. Stop at the lip line.
- Collarbones: use cream or liquid highlighter and blend downward with your fingers. Powder can look dusty on the body.
- Shoulders and shins: mix a little liquid highlighter with body lotion for events, then wash it off before bed.
- Avoid craft glitter and body glitter on the face. Cosmetic highlighter is made for skin; craft glitter is not.
Making it last through the day
Highlighter fades fastest on oily skin and in humid weather. To make it last:
- Apply cream or liquid highlighter before any setting powder, then set only the areas around it.
- If you have oily skin, use a thin layer of powder highlighter on top of cream, and blot the T-zone during the day instead of adding more highlighter.
- Keep a clean sponge in your bag for pressing out edges, not for adding product.
- Avoid touching your face; fingers lift highlighter and leave it on your phone screen.
Sensitive skin and safety
Don't apply highlighter to broken, sunburnt or irritated skin. Keep shimmer away from the lash line and out of the eye itself; if a particle gets in, rinse with clean water. Remove all makeup before bed, especially around the eyes, and clean your brushes regularly so product doesn't build up and drag.
Highlighter FAQs
Can I use highlighter on bare skin?
Should I put highlighter before or after blush?
How do I stop highlighter from looking greasy?
Can I use eyeshadow as a highlighter?
Do I need a special brush for highlighter?
Related articles
How to Apply Foundation: The Best Way, Step by Step
The best way to apply foundation is thin layers, the right tool and a good colour match. Here is the step-by-step method, plus fixes for common mistakes.
Looks, Step by Step
How to Cover Dark Circles: A Step-by-Step Method
A step-by-step guide to covering dark circles: picking the right corrector, applying thin layers, setting without creasing or caking.
Looks, Step by Step
How to Store Makeup Brushes: The Best Way to Keep Them Clean
Keep brushes dry, shaped and dust-free with upright jars, divided drawers and travel rolls — plus the damp-bathroom mistake to avoid.
Looks, Step by Step
How to Clean a Beautyblender: Step-by-Step Washing Guide
A simple, safe way to wash a Beautyblender: the everyday method, a deeper clean for set-in foundation, how to dry it properly and what to avoid.
Looks, Step by Step
How Do You Apply Concealer? A Step-by-Step Guide
How to apply concealer properly: prep the skin, match the shade, blend under the eyes and cover blemishes without caking or creasing.
Looks, Step by Step
How to Cover a Hickey With Makeup (and Make It Last)
Concealer alone leaves a grey patch. Colour correct, conceal and set a hickey properly so it stays hidden through daylight, hugs and a full day out.
Looks, Step by Step
How to Apply False Eyelashes (Strip and Individual)
A step-by-step guide to applying false eyelashes cleanly at home, from trimming and gluing the strip to fixing lifting corners and removing safely.
Looks, Step by Step
How to Apply Makeup Step by Step (With Photo Checks)
A step-by-step makeup routine you can follow and check as you go: skin prep, base, brows, eyes, cheeks and lips, plus fixes for common mistakes.
Looks, Step by Step
How to Apply Mascara Without Clumps or Smudges
Learn how to apply mascara cleanly in a few minutes: prepare lashes, curl, build coats from the roots, avoid clumps and remove it safely.
Looks, Step by Step
How to Choose Concealer Colour: Match Undertone and Job
Match concealer to your undertone and to the job in hand — dark circles, spots or redness — using a daylight test, corrector guidance and quick fixes.
Looks, Step by Step
How to Choose a Foundation Shade That Actually Matches
Match foundation properly: work out your undertone in daylight, swatch three shades along the jaw, allow for oxidation, and check against your neck.
Looks, Step by Step
How to Clean Makeup Brushes: A Step-by-Step Guide
Wash make-up brushes without wrecking the bristles: the short answer, a step-by-step method, drying tips and how often each brush needs a clean.
Looks, Step by Step
How to Do a Natural Makeup Look: Step-by-Step Guide
Learn how to do a natural makeup look in order: skin prep, sheer base, soft brows, wash of colour and a tinted lip, plus fixes for common mistakes.
Looks, Step by Step
How to Do Eye Makeup for Hooded Eyes: A Step-by-Step Guide
Learn how to do eye makeup for hooded eyes: where to place shadow, liner shapes that survive the fold, and fixes for smudging and transfer.
Looks, Step by Step
How to Do Winged Eyeliner for Beginners, Step by Step
A beginner's step-by-step guide to winged eyeliner: choosing a liner you can control, finding your flick angle, building the wing and fixing mistakes.
Looks, Step by Step
How to Get Makeup Out of Clothes: Stain-by-Stain Guide
Blot, lift the oil, then wash: a step-by-step guide to removing foundation, lipstick, mascara and powder from clothes without spreading the stain.
Looks, Step by Step
How to Look Good Without Makeup: A Practical Daily Routine
A practical, no-nonsense guide to looking good without makeup: skin prep, brow and lash grooming, colour, and fixes for what usually goes wrong.
Looks, Step by Step
How to Remove Make-up Properly, Step by Step
How to remove make-up properly, step by step: cleanse eyes first, double cleanse, and avoid the tugging and scrubbing that irritates skin.
Looks, Step by Step
How to Remove Mascara Gently, Without Losing Lashes
A step-by-step guide to taking off mascara gently — including waterproof formulas, lash extensions and the mistakes that leave residue behind.
Looks, Step by Step
How to Remove Waterproof Mascara Without Losing Lashes
Waterproof mascara needs oil, not water. Here's the gentle step-by-step removal method, plus fixes for residue, stinging and lash loss.
Looks, Step by Step
How to Stop Mascara Smudging: A Practical Guide
Stop mascara smudging with a practical routine: prep oily lids, apply less, shield the under-eye and set with powder. Plus fixes for panda eyes.
Looks, Step by Step
How to Use Colour Corrector: A Step-by-Step Guide
Colour corrector neutralises redness, dark circles and sallowness before concealer. Learn which shade to pick, how much to use and how to apply it.
Looks, Step by Step
How to Use Laura Geller Makeup: Baked Powders, Step by Step
A step-by-step guide to using Laura Geller baked powders: priming, swirling, tapping and buffing foundation, blush, eyeshadow and highlighter.
Looks, Step by Step