
How to Do a Natural Makeup Look: Step-by-Step Guide
Learn how to do a natural makeup look in order: skin prep, sheer base, soft brows, wash of colour and a tinted lip, plus fixes for common mistakes.
The short answer
A natural makeup look is not a full face applied more sparingly — it is a different way of working. You want skin that still looks and moves like skin, soft definition exactly where light and shadow already fall, and one warm wash of colour repeated on cheeks and lips so the face reads as one piece.
That means three rules: keep every layer thin, build only where there is a problem, and stop before it looks like makeup. Most people who end up looking 'done' have simply added one layer too many at the base.
A full natural routine takes about ten minutes once you know it, and a stripped-back version takes five. You do not need a large kit — the technique does most of the work.
What you need before you start
Gather everything within reach before you touch your face, ideally in daylight near a window. Artificial bathroom lighting flatters everything and hides the edges you have not blended.
- Prep
- A gentle cleanser, a moisturiser suited to your skin type, and sunscreen for daytime
- Base
- A sheer tinted moisturiser or light foundation, plus a creamy concealer one shade close to your skin
- Setting
- A finely milled translucent powder and a small fluffy brush
- Brows
- A spoolie brush, a brow pencil or powder, and a clear or tinted brow gel
- Eyes
- One or two neutral shadows, a soft blending brush, an eyelash curler and mascara
- Cheeks and lips
- A cream blush, and a tinted balm or lipstick you do not mind blotting
The routine, step by step
1. Prep and let it settle
Cleanse, then apply moisturiser and, for daytime, sunscreen. Wait a minute or two so the products sink in — a slippery base is the main reason sheer makeup slides or pills. Blot any surplus from the t-zone with a tissue.
2. Even out the base with one thin layer
Warm a small amount of tinted moisturiser or light foundation between your fingers and press it into the centre of the face first, then blend outwards with a damp sponge or your fingertips. Use what is left on the sponge around the jaw and hairline. Resist a second layer until you have finished the whole face.
3. Conceal only the shadows
Tap a creamy concealer under the eyes, in the inner corners, and around the sides of the nose if they look red or shadowed. Add a tiny amount on any spot. Press it in with a fingertip or a small brush — do not sweep, which lifts the base underneath.
4. Powder only where you shine
Press a little translucent powder into the t-zone, the sides of the nose and anywhere you get oily. Leave the cheeks and the top of the cheekbones unpowdered so the skin keeps a soft sheen.
5. Groom the brows upward
Brush the brows up and out with a spoolie. Fill only the sparse gaps with light, feathered strokes of pencil or powder, following the direction of the hair. Set with brow gel, pressing the hairs into place rather than slicking them flat.
6. Keep the eyes to a wash and a coat
Sweep one neutral shade over the lid and a little into the crease with a soft brush. Take the same shade along the lower lash line if your eyes look tired. Curl the lashes, then apply one coat of mascara, wiggling at the root for lift and keeping the tips separated.
7. Warm the cheeks
Smile slightly and tap cream blush onto the apples of the cheeks, then blend up and out towards the temple. A tiny amount is enough — start with less than you think and build.
8. Tint the lips and blot
Apply a tinted balm or lipstick in the same colour family as the blush, then press a tissue over your lips to take down the shine and leave a stain. A second thin layer after blotting gives colour that fades evenly.
9. Finish in daylight
Step to a window with a hand mirror. Blend any visible edges at the jaw, hairline and the outer corner of the eye, check the brows are not too dark, and soft-focus any patchiness with a clean, dry brush.
Skin prep decides the finish
Sheer makeup shows everything underneath, so prep matters more here than in a full-coverage routine. Skin that is hydrated but not greasy holds a light base beautifully; skin that is dry and flaky will catch every pigment, and skin that is slick will let the base slide within an hour.
- Dry patches: use a richer moisturiser at night and a gentle exfoliation once or twice a week, not the morning of an event.
- Oily areas: a light, water-based moisturiser plus a mattifying sunscreen is usually enough.
- Combination skin: treat the zones separately — richer cream on the cheeks, something lighter down the t-zone.
- Mature skin: hydration and a sheer, flexible base flatter more than powder-heavy coverage, which settles into lines.
Base: thin layers, built only where needed
The fastest way to get base wrong is to apply a full, even layer across the whole face. Instead, treat coverage as a series of small corrections.
Start at the centre of the face, where redness and uneven tone usually sit, and sheer the product out towards the jaw and hairline so the edges disappear. If you can still see a patch of redness after one layer has dried, add a second only there. Sheer formulas set quite quickly, so leave a few seconds between layers rather than piling wet product on top of wet product.
The neck is the giveaway: blend down to it, or take the base only as far as the jaw and let the two shades meet naturally. If your face and neck are quite different in depth, match the neck.
Brows and eyes: definition without a drawn-on look
Brows frame the face more than any other step, and they are also the easiest to overdo. Work with the hairs you have: brush them up, fill only the gaps with short strokes at an angle, and leave the front of the brow lighter than the tail. If your brows are fair, a tinted gel alone may be all you need.
For eyes, a neutral shade a couple of steps deeper than your skin tone is the whole story: lid, a soft wash into the crease, and a trace under the lower lashes. Keep the darkest point close to the lash line rather than out towards the temple. If you want more definition, tightline with a soft brown pencil instead of adding more shadow — it makes the lashes look fuller without obvious liner.
Blend more than you think necessary. Any hard edge reads as 'makeup' rather than as shadow.
Cheeks and lips: keep to one colour family
The single trick that makes a natural look read as polished is repeating one colour on the cheeks and lips — a soft rose, a warm peach, a muted berry. It looks intentional without looking styled.
Placement matters more than shade. Keeping blush on the apples of the cheeks and blending up towards the temples lifts the face; dragging it too low or too close to the nose can look flushed rather than fresh. Use your fingers for cream blusher — the warmth loosens the product and gives a softer edge than a brush.
On the lips, choose a formula with some slip so it looks like your own mouth rather than a painted shape. Blotting once takes down the gloss and leaves a stain that survives a cup of tea.
Matching your shades
Test base and concealer on the jawline, not the back of the hand, and look at the result in daylight before deciding. A match should disappear into the skin rather than sitting on it as a paler or pinker patch.
- Fair skin: beware shades that are too pink or too yellow; a neutral undertone often sits best.
- Medium and olive skin: watch for base that turns grey or ashy; warmer, golden undertones usually look more like skin.
- Deep skin: sheer formulas can look chalky if they contain a lot of white pigment — swatch on the cheek and check in daylight.
- Blush and lip colour: pinching your fingertip gives a rough idea of the flush colour your skin produces naturally.
If you get it wrong, there is no need to start over: a shade too dark can be sheered out with moisturiser, and one too pale can be warmed by mixing in a drop of a deeper product.
What commonly goes wrong — and the fix
- The base looks like a mask. Too much product, applied evenly everywhere. Take a clean damp sponge and press over the face to lift excess, then blend down the neck.
- It has gone patchy by midday. Usually a slippery base underneath or powder applied too heavily. Blot with tissue, then press a tiny amount of moisturiser over the patchy areas and reapply the thinnest layer.
- Fine lines look more obvious. Powder has gathered in them. Brush away the excess with a clean fluffy brush and switch to setting only the t-zone.
- The brows are too heavy. The colour is too dark or the front of the brow is filled in. Brush through with a spoolie and leave the first few millimetres bare.
- The eyes look tired or close-set. The shadow is too dark at the inner corner. Keep the lightest shade in the inner third and blend the deeper shade outward and up.
- The blush sits in a stripe. It has not been blended past its edge. Soften the border with a clean fingertip until there is no visible line, then check in daylight.
- The lip colour has feathered. Balm has crept past the lip line. Blot, then press a small amount of powder over the lip line with a fingertip before reapplying.
Five-minute version vs the full routine
Both give the same bare-skin finish; the difference is time and how much you build.
Stage
Five-minute version
- Base
- Tinted moisturiser warmed between the fingers and pressed in
- Concealer
- A dot under each eye, tapped out with a ring finger
- Brows
- Brushed up with clear gel, gaps filled with a pencil
- Eyes
- One neutral shade on the lid and a single coat of mascara
- Cheeks and lips
- Cream blusher and a tinted balm in the same tone
Full routine
- Base
- Sheer base buffed on with a damp sponge, a second layer only on redness
- Concealer
- Under the eyes, around the nose and on any spots, then a whisper of powder
- Brows
- Pencil, then powder through the arch, then gel to set the hairs
- Eyes
- Two tones blended, a soft tightline, curled lashes and mascara
- Cheeks and lips
- Cream blusher set lightly with powder, and a lipstick blotted to a stain
Cream or powder: which does what
A natural face usually mixes both. Cream gives the fresh, skin-like finish; powder keeps it in place and stops it migrating. The trick is to use cream where you want glow and powder where you want control.
Consideration
Cream formulas
- Best for
- Dry or dull-looking skin and a dewy finish
- How to apply
- Fingertips or a damp sponge, in thin layers
- Where it works best
- Cheeks, lips, eyelids and cream shadow
- Watch out for
- Sliding or separating if too much is layered
- Order of use
- First, on clean or lightly primed skin
Powder formulas
- Best for
- Oily skin and a soft-focus finish
- How to apply
- A fluffy brush, with the excess tapped off first
- Where it works best
- T-zone, brows, and setting blusher or bronzer
- Watch out for
- Looking flat or chalky if over-applied
- Order of use
- After the cream products, to set them
Making it last without adding weight
Longevity in a natural look comes from preparation and placement, not from piling on more product.
- Blot before you touch up. Excess oil breaks down makeup; blotting paper or a tissue removes it without disturbing the base.
- Set only the areas that actually get oily. Powder all over is what makes a light base look heavy by the afternoon.
- Choose a cream blusher and then set it with a matching powder blusher in a very thin layer — the two textures hold each other.
- Press mascara into the roots rather than coating the tips, and avoid touching your lashes during the day.
- Carry a tinted balm rather than a full lipstick for topping up; it layers over a stain without flaking.
Frequently asked questions
Do I need foundation for a natural look?
Why does sheer makeup settle into my fine lines?
Can I do a natural look with just three products?
Does a natural look work for the evening?
How often should I clean my brushes and sponges?
Related articles
How to Apply Foundation: The Best Way, Step by Step
The best way to apply foundation is thin layers, the right tool and a good colour match. Here is the step-by-step method, plus fixes for common mistakes.
Looks, Step by Step
How to Cover Dark Circles: A Step-by-Step Method
A step-by-step guide to covering dark circles: picking the right corrector, applying thin layers, setting without creasing or caking.
Looks, Step by Step
How to Store Makeup Brushes: The Best Way to Keep Them Clean
Keep brushes dry, shaped and dust-free with upright jars, divided drawers and travel rolls — plus the damp-bathroom mistake to avoid.
Looks, Step by Step
How to Clean a Beautyblender: Step-by-Step Washing Guide
A simple, safe way to wash a Beautyblender: the everyday method, a deeper clean for set-in foundation, how to dry it properly and what to avoid.
Looks, Step by Step
How Do You Apply Concealer? A Step-by-Step Guide
How to apply concealer properly: prep the skin, match the shade, blend under the eyes and cover blemishes without caking or creasing.
Looks, Step by Step
How to Cover a Hickey With Makeup (and Make It Last)
Concealer alone leaves a grey patch. Colour correct, conceal and set a hickey properly so it stays hidden through daylight, hugs and a full day out.
Looks, Step by Step
How to Apply False Eyelashes (Strip and Individual)
A step-by-step guide to applying false eyelashes cleanly at home, from trimming and gluing the strip to fixing lifting corners and removing safely.
Looks, Step by Step
How to Apply Makeup Step by Step (With Photo Checks)
A step-by-step makeup routine you can follow and check as you go: skin prep, base, brows, eyes, cheeks and lips, plus fixes for common mistakes.
Looks, Step by Step
How to Apply Mascara Without Clumps or Smudges
Learn how to apply mascara cleanly in a few minutes: prepare lashes, curl, build coats from the roots, avoid clumps and remove it safely.
Looks, Step by Step
How to Choose Concealer Colour: Match Undertone and Job
Match concealer to your undertone and to the job in hand — dark circles, spots or redness — using a daylight test, corrector guidance and quick fixes.
Looks, Step by Step
How to Choose a Foundation Shade That Actually Matches
Match foundation properly: work out your undertone in daylight, swatch three shades along the jaw, allow for oxidation, and check against your neck.
Looks, Step by Step
How to Clean Makeup Brushes: A Step-by-Step Guide
Wash make-up brushes without wrecking the bristles: the short answer, a step-by-step method, drying tips and how often each brush needs a clean.
Looks, Step by Step
How to Do Eye Makeup for Hooded Eyes: A Step-by-Step Guide
Learn how to do eye makeup for hooded eyes: where to place shadow, liner shapes that survive the fold, and fixes for smudging and transfer.
Looks, Step by Step
How to Do Winged Eyeliner for Beginners, Step by Step
A beginner's step-by-step guide to winged eyeliner: choosing a liner you can control, finding your flick angle, building the wing and fixing mistakes.
Looks, Step by Step
How to Get Makeup Out of Clothes: Stain-by-Stain Guide
Blot, lift the oil, then wash: a step-by-step guide to removing foundation, lipstick, mascara and powder from clothes without spreading the stain.
Looks, Step by Step
How to Look Good Without Makeup: A Practical Daily Routine
A practical, no-nonsense guide to looking good without makeup: skin prep, brow and lash grooming, colour, and fixes for what usually goes wrong.
Looks, Step by Step
How to Remove Make-up Properly, Step by Step
How to remove make-up properly, step by step: cleanse eyes first, double cleanse, and avoid the tugging and scrubbing that irritates skin.
Looks, Step by Step
How to Remove Mascara Gently, Without Losing Lashes
A step-by-step guide to taking off mascara gently — including waterproof formulas, lash extensions and the mistakes that leave residue behind.
Looks, Step by Step
How to Remove Waterproof Mascara Without Losing Lashes
Waterproof mascara needs oil, not water. Here's the gentle step-by-step removal method, plus fixes for residue, stinging and lash loss.
Looks, Step by Step
How to Stop Mascara Smudging: A Practical Guide
Stop mascara smudging with a practical routine: prep oily lids, apply less, shield the under-eye and set with powder. Plus fixes for panda eyes.
Looks, Step by Step
How to Use Colour Corrector: A Step-by-Step Guide
Colour corrector neutralises redness, dark circles and sallowness before concealer. Learn which shade to pick, how much to use and how to apply it.
Looks, Step by Step
How to Use Highlighter Makeup: Placement, Blending and Order
Learn where to place highlighter, which formula to use and how to blend it so it flatters your skin tone instead of sitting in patches.
Looks, Step by Step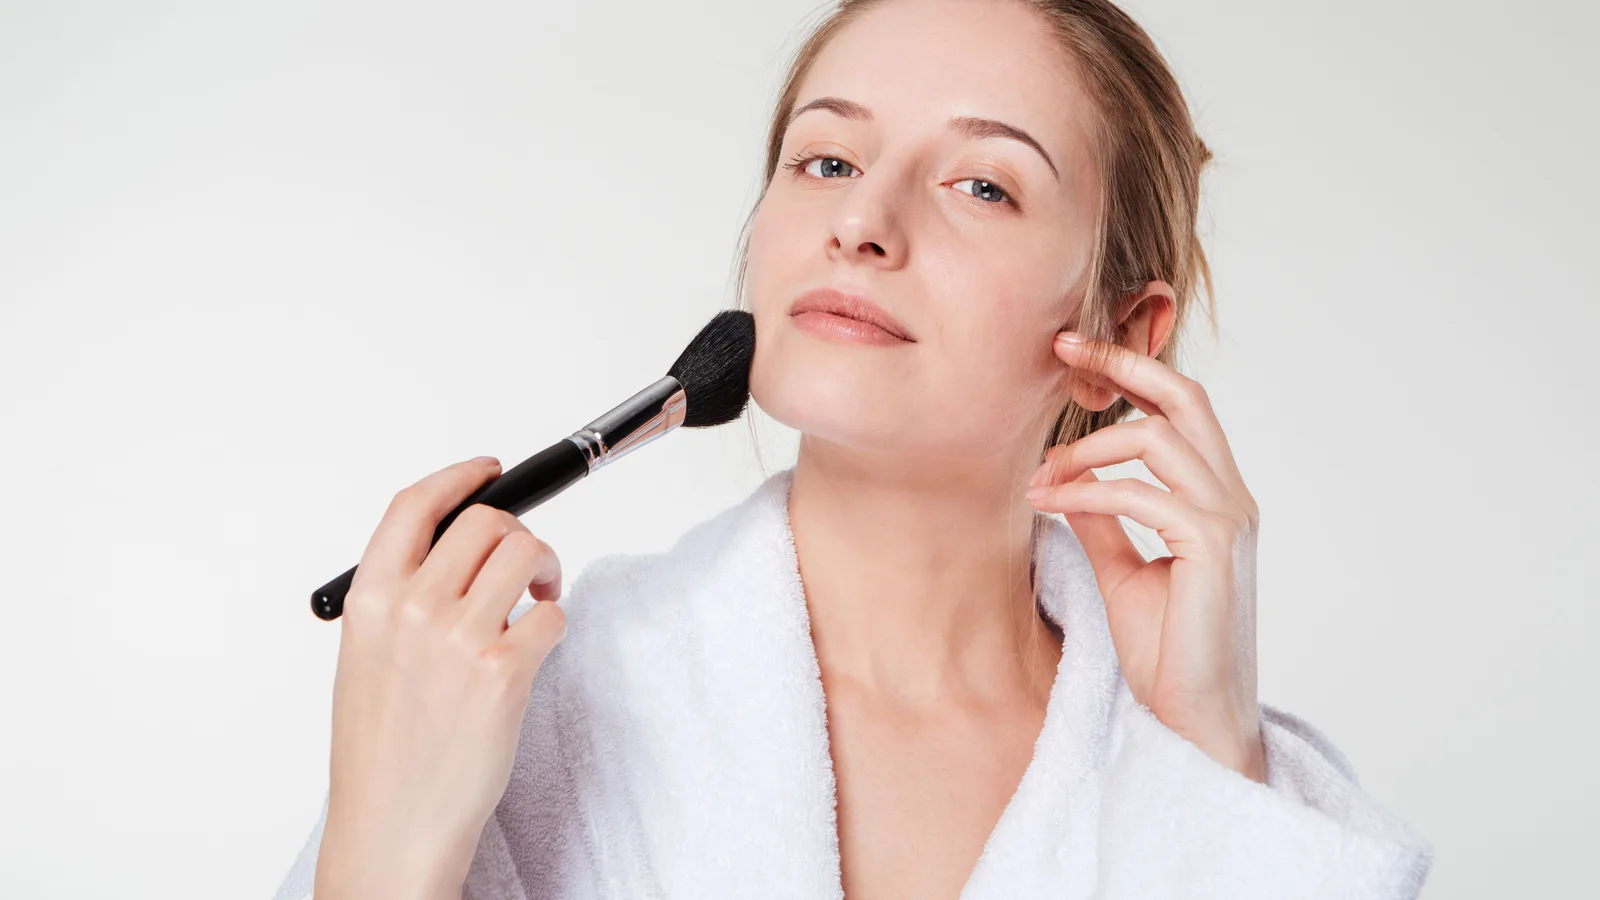
How to Use Laura Geller Makeup: Baked Powders, Step by Step
A step-by-step guide to using Laura Geller baked powders: priming, swirling, tapping and buffing foundation, blush, eyeshadow and highlighter.
Looks, Step by Step