
How to Remove Make-up Properly, Step by Step
How to remove make-up properly, step by step: cleanse eyes first, double cleanse, and avoid the tugging and scrubbing that irritates skin.
The short answer
Take your make-up off in two passes. The first pass uses an oil-based cleanser — a balm, a cleansing oil or micellar water — massaged into dry skin to lift pigment, sunscreen and long-wear formulas. The second pass uses a water-based cleanser to clear away whatever the first one loosened and left behind.
Do your eyes first, and do them gently: soak a cotton pad, press it against a closed lid for a few seconds, and wipe downwards. No rubbing, no scrubbing, no hot water.
That is the whole method. Everything else — which products, how long, which cloth — is detail around those two passes.
What you need before you start
You do not need a bathroom full of products, but the right few things make the job quick:
- Clean hands. Everything here is done with your fingers, so wash and dry them first.
- An oil-based cleanser. A cleansing balm, a cleansing oil, or micellar water if you prefer a pad-based first step.
- A water-based cleanser. A gel, cream or milk cleanser — whatever suits your skin on a normal day.
- Cotton pads and cotton buds. Pads for the eyes, buds for the lash line and inner corners.
- A dedicated eye make-up remover if you wear waterproof mascara, waterproof liner or long-wear eyeshadow.
- A soft flannel or microfibre cloth if you like to rinse with a cloth rather than your hands.
- Lukewarm water and a clean towel. Hot water and a shared, slightly grubby hand towel are both working against you.
How to remove make-up, step by step
1. Wash and dry your hands
Wash with soap and warm water, then dry them properly. Wet hands dilute an oil cleanser and stop it gripping the make-up, which means more rubbing later.
2. Take off your eye make-up before your face
Soak a cotton pad with eye remover, press it against a closed eye for a few seconds, then wipe gently downwards and outwards. Use a fresh pad for the second eye. Doing the eyes first stops you dragging mascara across skin you have already cleansed.
3. Massage an oil-based cleanser into dry skin
Take a small scoop of balm or a pump of oil into dry palms and work it over your face with dry fingertips. Start at the centre and move outwards, then work down the jaw and neck. Spend a good 20 to 30 seconds on it — this is where most of the make-up actually comes off.
4. Add water and emulsify
Wet your fingertips and keep massaging. The oil turns milky, which is what allows it to rinse away instead of sitting on your skin. Rinse with lukewarm water until the water runs clear, paying attention to the hairline, the creases beside your nose and under the jaw.
5. Follow with a water-based cleanser
A gel, cream or milk cleanser lifts the last of the oil, the loosened sunscreen and anything the first pass missed. Massage it in for around 30 seconds, then rinse again. If your skin already feels tight at this point, your cleanser is too harsh rather than too weak.
6. Pat dry, do not rub
Use a clean towel or flannel and pat your face dry. Rubbing with a towel undoes the gentleness of the whole routine, especially around the eyes and the mouth.
7. Moisturise while skin is still slightly damp
Apply your usual moisturiser within a minute or two of patting dry, while the skin still feels cool and faintly damp. This seals in water and calms any tightness from cleansing.
Getting eye make-up off without tugging
The eye area is where make-up removal goes wrong most often, because the skin there is thin and the products are designed to stay put. Waterproof mascara and long-wear liner will not shift with a quick swipe, and trying to make them will cost you lashes and leave you with sore lids.
1. Match the remover to the formula
Ordinary mascara usually gives way to a balm or a micellar water. Waterproof and long-wear formulas need an oil-based or two-phase eye remover — the ones you shake before use.
2. Soak the pad properly
A barely damp pad is the usual reason people end up scrubbing. Use enough remover that the pad is wet through, not just spotty.
3. Press and hold
Close your eye and hold the pad against the lid for around 10 to 20 seconds. Let the remover dissolve the mascara rather than wiping it off by force. Then wipe slowly downwards and outwards in one direction.
4. Repeat with a clean pad instead of scrubbing
If there is still mascara on the pad, use a fresh one and press again. Two gentle passes beat one hard one every time.
5. Finish the lash line with a cotton bud
Dip a bud in remover and run it along the base of the lashes and into the inner corner, where liner collects. Never poke between the lashes with a fingernail.
6. Check before you cleanse
Look for smudges under the eye and along the lower lash line before you start on the face — leftover mascara tends to travel downwards once you add water.
Which remover suits which make-up
Match the remover to what you actually wore that day.
Remover
Best for
- Cleansing balm or oil
- Long-wear foundation, sunscreen, heavy eye make-up
- Micellar water
- Light base, powder, everyday make-up, travel
- Cleansing milk or lotion
- Dry, tight or easily irritated skin
- Two-phase eye remover
- Waterproof mascara, waterproof liner, stubborn lash glue residue
- Facial wipes
- Genuine emergencies: late nights, travel, the gym
How to use it
- Cleansing balm or oil
- Massage into dry skin, add water to emulsify, then rinse
- Micellar water
- Soak a pad, press, sweep; many formulas need no rinsing
- Cleansing milk or lotion
- Massage in with fingers or a pad, wipe away, then second cleanse
- Two-phase eye remover
- Shake, soak a pad, hold against the closed eye, wipe down
- Facial wipes
- Wipe, then cleanse properly as soon as you reasonably can
Watch out for
- Cleansing balm or oil
- Rushing the rinse leaves a film that makes skin look dull
- Micellar water
- Can leave a tacky residue; often not enough for waterproof mascara
- Cleansing milk or lotion
- Too mild for waterproof or transfer-proof formulas
- Two-phase eye remover
- Oily finish, so rinse the eye area afterwards
- Facial wipes
- Friction and residue; not a substitute for a proper cleanse
What commonly goes wrong
If make-up removal leaves your skin stinging, tight or still faintly tinted, one of these is usually the cause:
- Using wipes as the whole routine. They move make-up around the face rather than lifting it off, and the dragging is worse than the residue.
- Skipping the second cleanse. Leftover oil and dissolved make-up sit on the skin, and your moisturiser or serum starts pilling on top of it.
- Water that is too hot. It strips the skin and makes redness worse. Lukewarm is enough.
- Missing the edges. The hairline, the sides of the nose, the jaw and the neck are where leftover foundation shows up as smudges on collars and pillowcases.
- Reusing one cotton pad for both eyes and the whole face. Once a pad is loaded with pigment it just redistributes it.
- Over-cleansing to compensate. If your skin feels squeaky, you have gone too far — that tightness is not a sign of cleanliness.
- Forgetting the lashes. Mascara left at the roots collects on your pillow and can irritate the eye overnight.
Do you need to double cleanse?
Double cleansing simply means the oil-based pass followed by the water-based one. It earns its reputation on days when you have worn sunscreen, a long-wear base or a lot of eye make-up, because a single water-based cleanser struggles to shift oils and silicones. On a bare-face day, one gentle cleanse is plenty.
Why it helps
- Lifts sunscreen, primer and long-wear base that a water-based cleanser alone tends to smear around
- Leaves less residue, so moisturiser and overnight treatments sit better on the skin
- Gives you a slow minute at the mirror to notice dryness, flaking or a new breakout early
Where it can go wrong
- Two rounds take longer, and the second one gets skipped on late nights
- Hot water and a strong second cleanser can leave skin tight and reactive
- An oil cleanser that is not fully emulsified leaves a filmy layer behind
- Anyone with very reactive skin may find a balm plus a gel cleanser is simply too much
Looking after your skin afterwards
The ten minutes after cleansing matter as much as the cleansing itself. Pat dry, then moisturise while the skin is still slightly damp. If you use a toner, choose one that calms rather than one that tingles — stinging is not a sign it is working.
Wash your flannels and reusable pads after every use, or at the very least every couple of days, and let them dry properly between uses. A damp flannel left in the sink is a much bigger problem for your skin than the make-up you took off with it.
In the morning, a single gentle cleanse is enough. If you went to bed with make-up on — it happens — do the full two-pass routine then, rather than trying to make up for it by scrubbing twice as hard.
Frequently asked questions
Do I need a separate eye make-up remover?
Can I just use my normal face wash to take make-up off?
Does micellar water need to be rinsed off?
How often should I replace cotton pads and flannels?
What happens if I fall asleep in my make-up?
Is a cleansing balm safe around the eyes?
Related articles
How to Apply Foundation: The Best Way, Step by Step
The best way to apply foundation is thin layers, the right tool and a good colour match. Here is the step-by-step method, plus fixes for common mistakes.
Looks, Step by Step
How to Cover Dark Circles: A Step-by-Step Method
A step-by-step guide to covering dark circles: picking the right corrector, applying thin layers, setting without creasing or caking.
Looks, Step by Step
How to Store Makeup Brushes: The Best Way to Keep Them Clean
Keep brushes dry, shaped and dust-free with upright jars, divided drawers and travel rolls — plus the damp-bathroom mistake to avoid.
Looks, Step by Step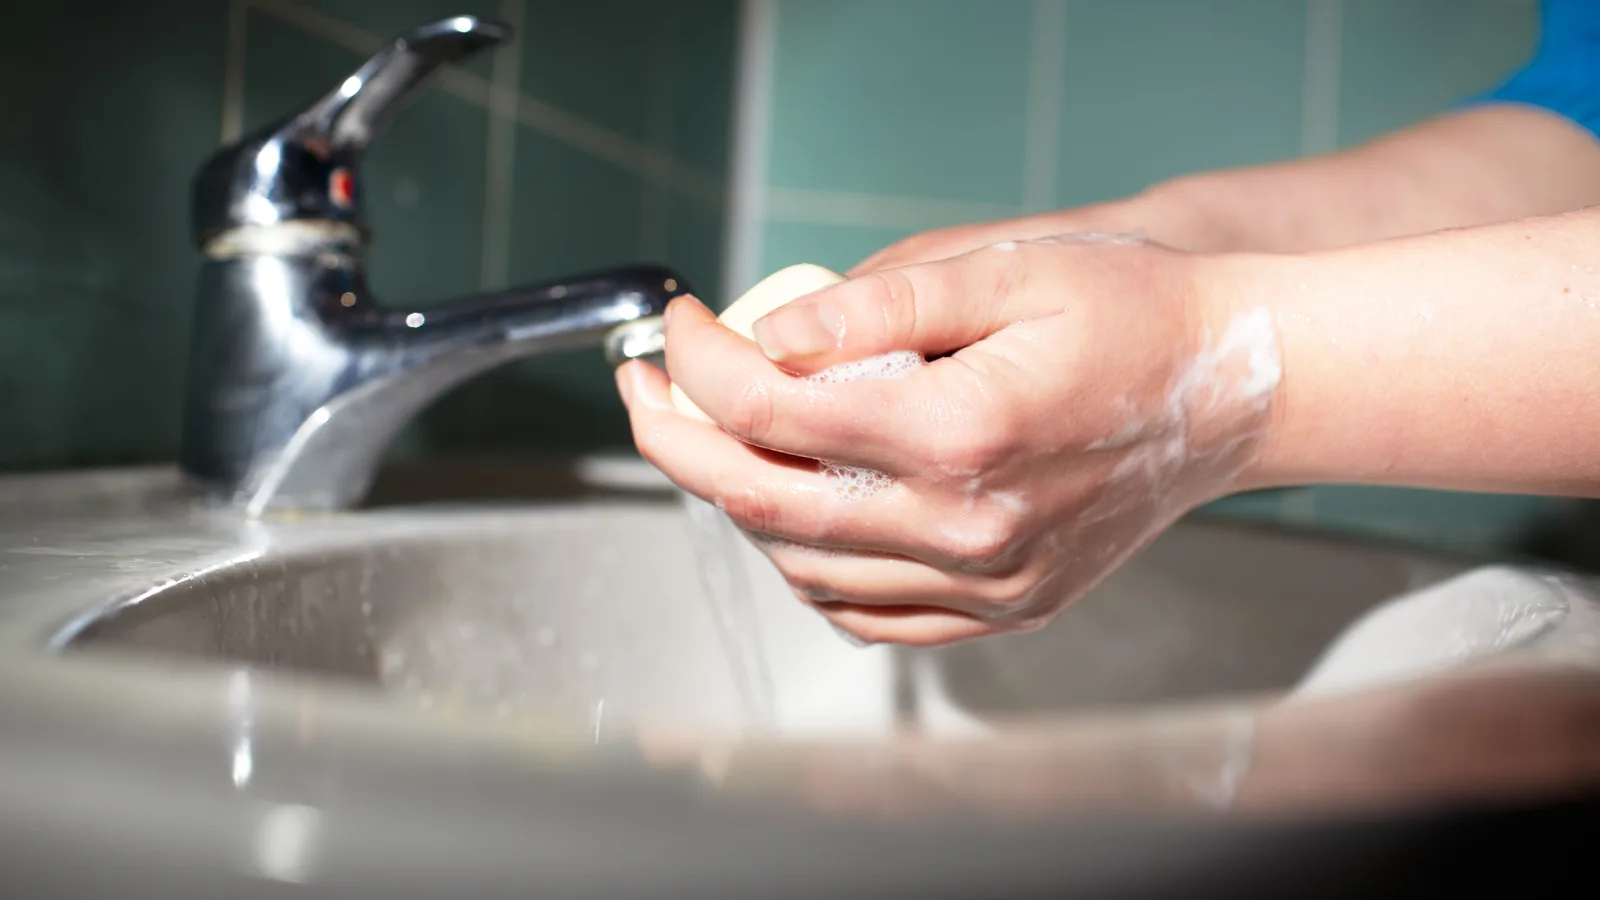
How to Clean a Beautyblender: Step-by-Step Washing Guide
A simple, safe way to wash a Beautyblender: the everyday method, a deeper clean for set-in foundation, how to dry it properly and what to avoid.
Looks, Step by Step
How Do You Apply Concealer? A Step-by-Step Guide
How to apply concealer properly: prep the skin, match the shade, blend under the eyes and cover blemishes without caking or creasing.
Looks, Step by Step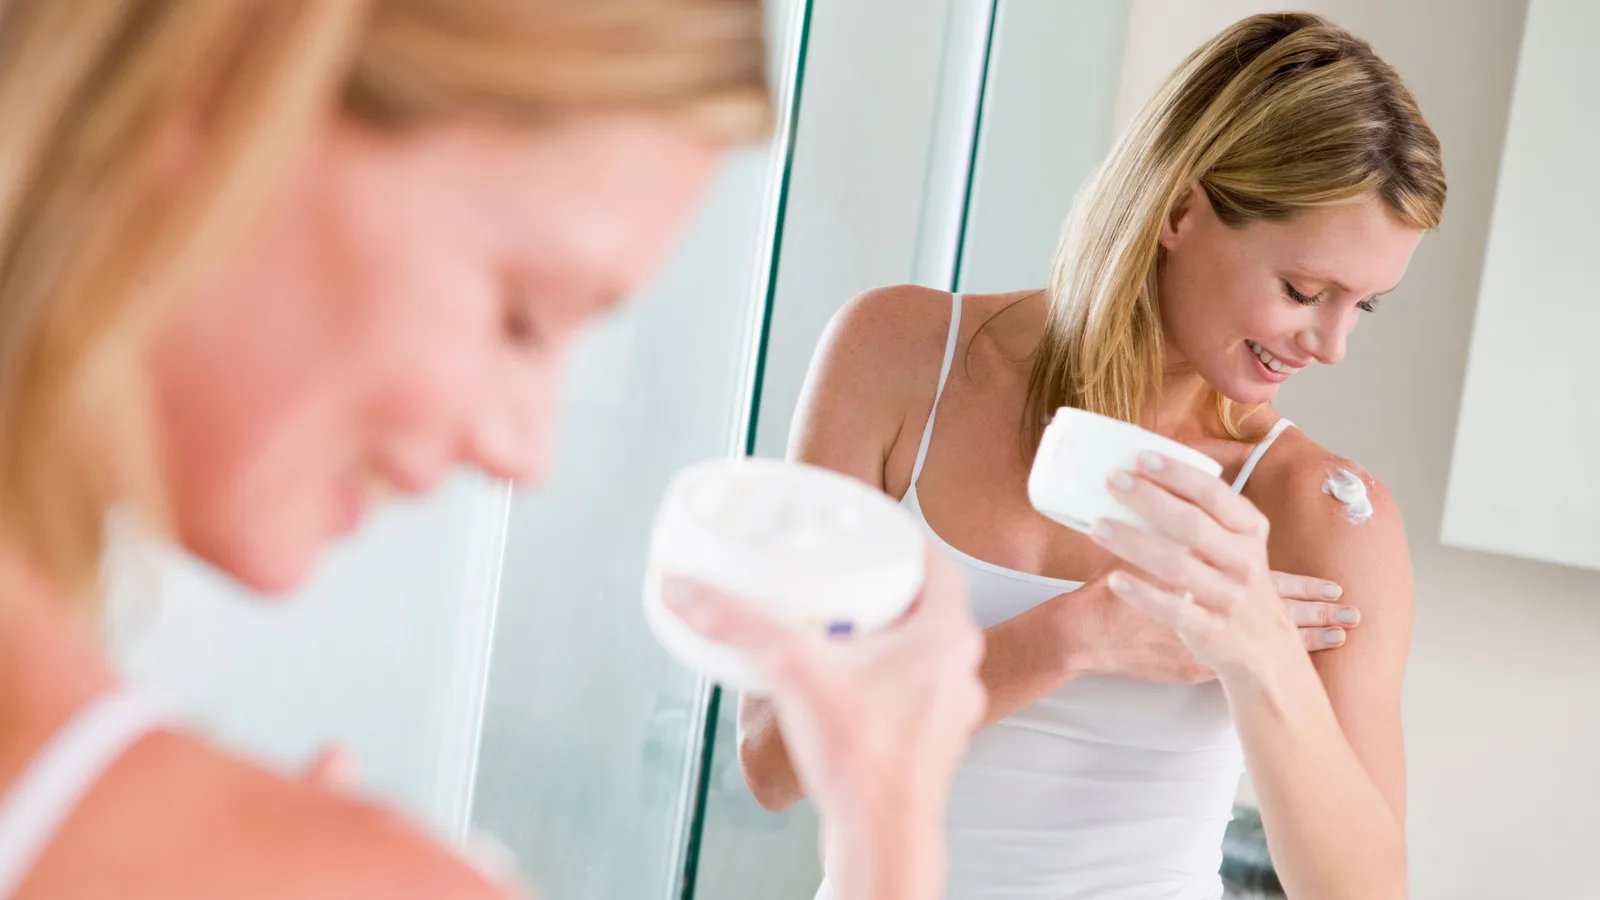
How to Cover a Hickey With Makeup (and Make It Last)
Concealer alone leaves a grey patch. Colour correct, conceal and set a hickey properly so it stays hidden through daylight, hugs and a full day out.
Looks, Step by Step
How to Apply False Eyelashes (Strip and Individual)
A step-by-step guide to applying false eyelashes cleanly at home, from trimming and gluing the strip to fixing lifting corners and removing safely.
Looks, Step by Step
How to Apply Makeup Step by Step (With Photo Checks)
A step-by-step makeup routine you can follow and check as you go: skin prep, base, brows, eyes, cheeks and lips, plus fixes for common mistakes.
Looks, Step by Step
How to Apply Mascara Without Clumps or Smudges
Learn how to apply mascara cleanly in a few minutes: prepare lashes, curl, build coats from the roots, avoid clumps and remove it safely.
Looks, Step by Step
How to Choose Concealer Colour: Match Undertone and Job
Match concealer to your undertone and to the job in hand — dark circles, spots or redness — using a daylight test, corrector guidance and quick fixes.
Looks, Step by Step
How to Choose a Foundation Shade That Actually Matches
Match foundation properly: work out your undertone in daylight, swatch three shades along the jaw, allow for oxidation, and check against your neck.
Looks, Step by Step
How to Clean Makeup Brushes: A Step-by-Step Guide
Wash make-up brushes without wrecking the bristles: the short answer, a step-by-step method, drying tips and how often each brush needs a clean.
Looks, Step by Step
How to Do a Natural Makeup Look: Step-by-Step Guide
Learn how to do a natural makeup look in order: skin prep, sheer base, soft brows, wash of colour and a tinted lip, plus fixes for common mistakes.
Looks, Step by Step
How to Do Eye Makeup for Hooded Eyes: A Step-by-Step Guide
Learn how to do eye makeup for hooded eyes: where to place shadow, liner shapes that survive the fold, and fixes for smudging and transfer.
Looks, Step by Step
How to Do Winged Eyeliner for Beginners, Step by Step
A beginner's step-by-step guide to winged eyeliner: choosing a liner you can control, finding your flick angle, building the wing and fixing mistakes.
Looks, Step by Step
How to Get Makeup Out of Clothes: Stain-by-Stain Guide
Blot, lift the oil, then wash: a step-by-step guide to removing foundation, lipstick, mascara and powder from clothes without spreading the stain.
Looks, Step by Step
How to Look Good Without Makeup: A Practical Daily Routine
A practical, no-nonsense guide to looking good without makeup: skin prep, brow and lash grooming, colour, and fixes for what usually goes wrong.
Looks, Step by Step
How to Remove Mascara Gently, Without Losing Lashes
A step-by-step guide to taking off mascara gently — including waterproof formulas, lash extensions and the mistakes that leave residue behind.
Looks, Step by Step
How to Remove Waterproof Mascara Without Losing Lashes
Waterproof mascara needs oil, not water. Here's the gentle step-by-step removal method, plus fixes for residue, stinging and lash loss.
Looks, Step by Step
How to Stop Mascara Smudging: A Practical Guide
Stop mascara smudging with a practical routine: prep oily lids, apply less, shield the under-eye and set with powder. Plus fixes for panda eyes.
Looks, Step by Step
How to Use Colour Corrector: A Step-by-Step Guide
Colour corrector neutralises redness, dark circles and sallowness before concealer. Learn which shade to pick, how much to use and how to apply it.
Looks, Step by Step
How to Use Highlighter Makeup: Placement, Blending and Order
Learn where to place highlighter, which formula to use and how to blend it so it flatters your skin tone instead of sitting in patches.
Looks, Step by Step
How to Use Laura Geller Makeup: Baked Powders, Step by Step
A step-by-step guide to using Laura Geller baked powders: priming, swirling, tapping and buffing foundation, blush, eyeshadow and highlighter.
Looks, Step by Step