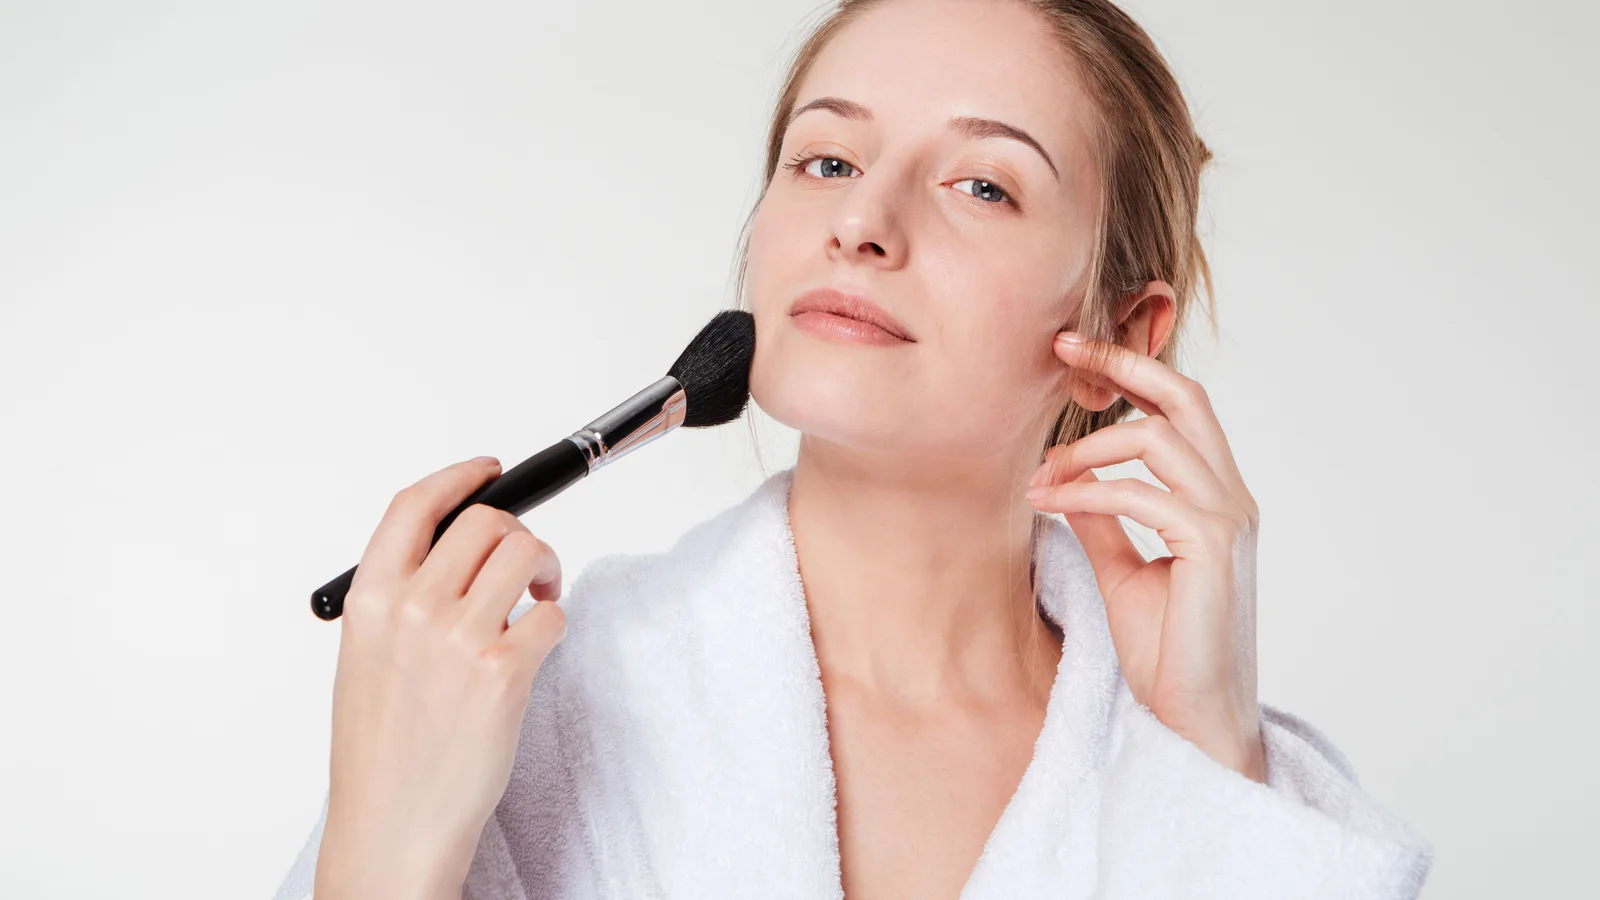
How to Use Laura Geller Makeup: Baked Powders, Step by Step
A step-by-step guide to using Laura Geller baked powders: priming, swirling, tapping and buffing foundation, blush, eyeshadow and highlighter.
The short answer
Laura Geller's best-known products are baked powders. The formula is cooked on terracotta, which leaves a domed, marbled surface that is firmer and more pigmented than a standard pressed powder. That means you don't sweep it on like loose powder — you load a brush, knock off the excess, and buff thin layers into the skin.
The short version of the routine is: prime, swirl, tap, buff, build. Cream and liquid products go first; baked powders go last; blush, bronzer and highlighter come after foundation, not before.
If you remember only one thing, make it this: the brush should look almost empty before it touches your face.
What you need before you start
You don't need a full kit, but a few things make the difference between a smooth finish and a patchy one:
- The product you're using — foundation, blush, bronzer, eyeshadow or highlighter, out of the compact and at room temperature
- The right brush shape — dense and domed for foundation, soft and fluffy for blush and bronzer, small and flat for lids
- A primer — Spackle if you have it, or your usual one
- Clean, dry brushes — damp bristles grab powder unevenly
- A mirror near daylight — indoor lighting hides edges and tide marks
- A tissue or the back of your hand to tap off the excess
- Baked foundation
- Dense domed or kabuki-style brush; swirl, tap, then buff in small circles
- Baked blush
- Soft, fluffy round or angled brush; light hand, build in two passes
- Baked bronzer
- Fluffy brush, slightly larger than your blush brush; sweep the perimeter
- Baked eyeshadow
- Flat shader brush for the lid, small fluffy brush for blending
- Highlighter
- Small tapered or fan brush; press onto the high points rather than sweeping
- Spackle primer
- Fingertips or a barely damp sponge; thin layer, then let it set
Step by step: baked powder foundation
1. Start with a settled base
Cleanse and moisturise, then let your moisturiser absorb for a minute or two. Apply a thin layer of primer and wait until it feels tacky rather than wet — powder grips to wet primer and turns patchy.
2. Swirl the brush into the dome
Press the brush into the domed centre of the compact and swirl in small circles. Don't dig at the edges or scrape the surface; the dome is the part that gives you an even pickup.
3. Tap the brush, don't blow on it
Tap the handle firmly against the rim of the compact or the back of your hand until the loose dust stops falling. Blowing on the brush adds moisture from your breath, which glazes the surface of a baked powder over time.
4. Buff outwards from the centre of the face
Use the flat of the brush in small, soft circles, working from the nose and chin out towards the cheeks and jaw. Keep the pressure light — the first pass should look like a veil, not a mask.
5. Build only where you need it
Wait a few seconds, then add a second thin layer on the areas that need more coverage: redness on the cheeks, around the nose, any uneven patches. Layers give a smoother finish than pressing harder.
6. Blend the edges and check in daylight
Take the powder down the jaw and up into the hairline so there's no visible line, then look at your face near a window. If you get shiny later, set just the T-zone with a light powder rather than adding more foundation.
How to use Spackle under the powder
Spackle is a cream primer, and it's the step most people either skip or overdo. Its job is to smooth the surface and give the powder something to sit on, so a thin film is all you need. If you can see it sitting on the skin, there's too much.
1. Do your skincare first and let it dry down
Primer doesn't replace moisturiser. Apply your usual moisturiser and sunscreen, then wait a couple of minutes so the surface isn't wet.
2. Press on a pea-sized amount
Dot it on the areas that need smoothing — usually the nose, the inner cheeks and any redness — then press it in with your fingertips. Pressing gives a more even layer than rubbing.
3. Let it set before you buff
Give it a minute until it feels tacky-dry, not slippery. If you go straight in with powder, the brush will drag and the finish will be uneven.
Baked blush and bronzer: light layers, soft brushes
1. Load lightly and tap off well
Baked blush is more pigmented than the marbled surface suggests. One or two soft swirls of a fluffy brush is plenty — then tap the handle against your wrist until the dust stops falling.
2. Place the colour on the apples of the cheeks
Smile, then place the brush on the fullest part of the cheek and blend upwards and outwards towards the temple. Use small circular motions rather than one long sweep.
3. Take bronzer around the perimeter of the face
Use a slightly larger fluffy brush and sweep softly along the temples, under the cheekbone and down the jaw. Keep the pressure light and stop before the centre of the face — bronzer is for the edges.
4. Blend the edges with a clean brush
Run a clean, empty brush over the edges of the blush and bronzer to soften any lines. This is the step that makes the difference between 'makeup' and 'too much makeup'.
Baked eyeshadow and highlighter
1. Prime the lid and set it lightly
Use a dab of Spackle or a concealer you already own, then dust a whisper of matte powder over it. A set base stops baked shimmers from sliding into the crease.
2. Sweep the lighter swirl across the lid
Pick up the paler shade from the surface with a flat brush, tap off, and press it onto the lid from the lash line upwards. Pressing packs on colour far more neatly than sweeping.
3. Deepen the outer corner
Load a smaller brush with the darker part of the marbled pattern and work it into the outer corner in small circles, keeping it below the crease line.
4. Blend with a clean, empty brush
Use a fluffy brush with nothing on it to soften the join between the lid and the outer corner. If there's fallout on the cheek, brush it away with a clean powder brush — don't rub it with your fingers.
5. Press highlighter onto the high points
Tap a small amount onto the tops of the cheekbones, the bridge of the nose and the cupid's bow with a small brush or your fingertip. Pressing keeps the shimmer where you put it; sweeping scatters it.
Lips and cream products: get the order right
The one rule that keeps everything looking tidy is cream before powder. Cream blush, liquid highlighter, tinted moisturiser and lip products all go on before or after the powders depending on where they sit on your face — but a cream product applied over a finished powder base will catch, drag and go patchy.
For lips, a lip liner stops colour bleeding into fine lines; fill the whole lip rather than just outlining, then apply lipstick or gloss over the top. Blot once with a tissue and reapply for a longer-wearing finish. Satin and matte formulas suit a soft blot; high-shine glosses are better dabbed on the centre of the lip so they don't slide.
If you use a cream blush, apply it straight after foundation and before any setting powder, then buff the powder blush over it only if you want extra depth.
What commonly goes wrong — and the fix
The usual problems with baked makeup, and what actually fixes them
What you see
Why it happens
- Patchy, uneven finish
- Too much powder on the brush, or primer that's still wet
- Cakey around the nose and chin
- Powder catching on oil, sweat or flaky skin
- The shade looks darker or more orange than in the pan
- Powder mixing with oils and primer underneath, plus a heavy hand
- Blush looks like two stripes
- A small, dense brush concentrating colour in one spot
- Shimmer is suddenly everywhere
- Fallout from a baked shadow or highlighter
- The whole face looks flat
- All-matte layers with nothing to catch the light
What to do
- Patchy, uneven finish
- Tap off harder, buff in smaller circles, and give primer a minute to set
- Cakey around the nose and chin
- Blot first, use less primer in those areas, and press rather than sweep
- The shade looks darker or more orange than in the pan
- Apply thinner layers, check the match in daylight, and try it on bare skin first
- Blush looks like two stripes
- Use a fluffier brush, tap off, and blend the edges with a clean brush
- Shimmer is suddenly everywhere
- Do eyes first, shield the cheek with a tissue, and press instead of sweeping
- The whole face looks flat
- Add a little highlighter to the high points and blend bronzer around the perimeter
Brush care and looking after the baked dome
Baked powders last well if you keep two things in check: the brush and the surface of the compact.
- Wash your brushes weekly with a gentle soap or shampoo, rinse until the water runs clear and dry them flat with the bristles hanging over the edge of a surface. Damp bristles left standing upright will loosen the glue in the ferrule.
- Don't wet the baked dome. Keep water, facial mists and setting sprays away from the pan — moisture glazes the surface and makes it hard to pick up colour.
- Wipe the surface with a dry tissue now and then to lift oil transferred from your brush.
- Don't scrape or dig at the powder to 'loosen' it. If the dome has cracked or crumbled at the edge, use the intact centre and keep the compact closed between uses.
Safety and things that are easy to get wrong
A few practical points that are easy to overlook:
- Check the little open-jar symbol on the packaging. It tells you how many months the product is good for after opening, and powders do go off.
- Patch test anything new on the inner forearm and wait a day, particularly if you have sensitive or reactive skin.
- Don't inhale loose powder. Tap the excess into a tissue rather than blowing it into the air, and keep compacts closed when you're not using them.
- Go carefully around the eyes. Baked shimmers are finely milled and can travel; keep glittery shades away from the waterline and remove every trace before bed.
- Take it off properly. Baked powders can be stubborn, so use a cleansing balm or oil followed by your usual cleanser rather than a single wipe.
Common questions about Laura Geller makeup
Can I use baked powder foundation over liquid foundation?
Do I need a special brush?
Why does the powder look different on my skin than in the compact?
Can I use a damp sponge with baked powders?
Can I wear Spackle on its own?
Related articles
How to Apply Foundation: The Best Way, Step by Step
The best way to apply foundation is thin layers, the right tool and a good colour match. Here is the step-by-step method, plus fixes for common mistakes.
Looks, Step by Step
How to Cover Dark Circles: A Step-by-Step Method
A step-by-step guide to covering dark circles: picking the right corrector, applying thin layers, setting without creasing or caking.
Looks, Step by Step
How to Store Makeup Brushes: The Best Way to Keep Them Clean
Keep brushes dry, shaped and dust-free with upright jars, divided drawers and travel rolls — plus the damp-bathroom mistake to avoid.
Looks, Step by Step
How to Clean a Beautyblender: Step-by-Step Washing Guide
A simple, safe way to wash a Beautyblender: the everyday method, a deeper clean for set-in foundation, how to dry it properly and what to avoid.
Looks, Step by Step
How Do You Apply Concealer? A Step-by-Step Guide
How to apply concealer properly: prep the skin, match the shade, blend under the eyes and cover blemishes without caking or creasing.
Looks, Step by Step
How to Cover a Hickey With Makeup (and Make It Last)
Concealer alone leaves a grey patch. Colour correct, conceal and set a hickey properly so it stays hidden through daylight, hugs and a full day out.
Looks, Step by Step
How to Apply False Eyelashes (Strip and Individual)
A step-by-step guide to applying false eyelashes cleanly at home, from trimming and gluing the strip to fixing lifting corners and removing safely.
Looks, Step by Step
How to Apply Makeup Step by Step (With Photo Checks)
A step-by-step makeup routine you can follow and check as you go: skin prep, base, brows, eyes, cheeks and lips, plus fixes for common mistakes.
Looks, Step by Step
How to Apply Mascara Without Clumps or Smudges
Learn how to apply mascara cleanly in a few minutes: prepare lashes, curl, build coats from the roots, avoid clumps and remove it safely.
Looks, Step by Step
How to Choose Concealer Colour: Match Undertone and Job
Match concealer to your undertone and to the job in hand — dark circles, spots or redness — using a daylight test, corrector guidance and quick fixes.
Looks, Step by Step
How to Choose a Foundation Shade That Actually Matches
Match foundation properly: work out your undertone in daylight, swatch three shades along the jaw, allow for oxidation, and check against your neck.
Looks, Step by Step
How to Clean Makeup Brushes: A Step-by-Step Guide
Wash make-up brushes without wrecking the bristles: the short answer, a step-by-step method, drying tips and how often each brush needs a clean.
Looks, Step by Step
How to Do a Natural Makeup Look: Step-by-Step Guide
Learn how to do a natural makeup look in order: skin prep, sheer base, soft brows, wash of colour and a tinted lip, plus fixes for common mistakes.
Looks, Step by Step
How to Do Eye Makeup for Hooded Eyes: A Step-by-Step Guide
Learn how to do eye makeup for hooded eyes: where to place shadow, liner shapes that survive the fold, and fixes for smudging and transfer.
Looks, Step by Step
How to Do Winged Eyeliner for Beginners, Step by Step
A beginner's step-by-step guide to winged eyeliner: choosing a liner you can control, finding your flick angle, building the wing and fixing mistakes.
Looks, Step by Step
How to Get Makeup Out of Clothes: Stain-by-Stain Guide
Blot, lift the oil, then wash: a step-by-step guide to removing foundation, lipstick, mascara and powder from clothes without spreading the stain.
Looks, Step by Step
How to Look Good Without Makeup: A Practical Daily Routine
A practical, no-nonsense guide to looking good without makeup: skin prep, brow and lash grooming, colour, and fixes for what usually goes wrong.
Looks, Step by Step
How to Remove Make-up Properly, Step by Step
How to remove make-up properly, step by step: cleanse eyes first, double cleanse, and avoid the tugging and scrubbing that irritates skin.
Looks, Step by Step
How to Remove Mascara Gently, Without Losing Lashes
A step-by-step guide to taking off mascara gently — including waterproof formulas, lash extensions and the mistakes that leave residue behind.
Looks, Step by Step
How to Remove Waterproof Mascara Without Losing Lashes
Waterproof mascara needs oil, not water. Here's the gentle step-by-step removal method, plus fixes for residue, stinging and lash loss.
Looks, Step by Step
How to Stop Mascara Smudging: A Practical Guide
Stop mascara smudging with a practical routine: prep oily lids, apply less, shield the under-eye and set with powder. Plus fixes for panda eyes.
Looks, Step by Step
How to Use Colour Corrector: A Step-by-Step Guide
Colour corrector neutralises redness, dark circles and sallowness before concealer. Learn which shade to pick, how much to use and how to apply it.
Looks, Step by Step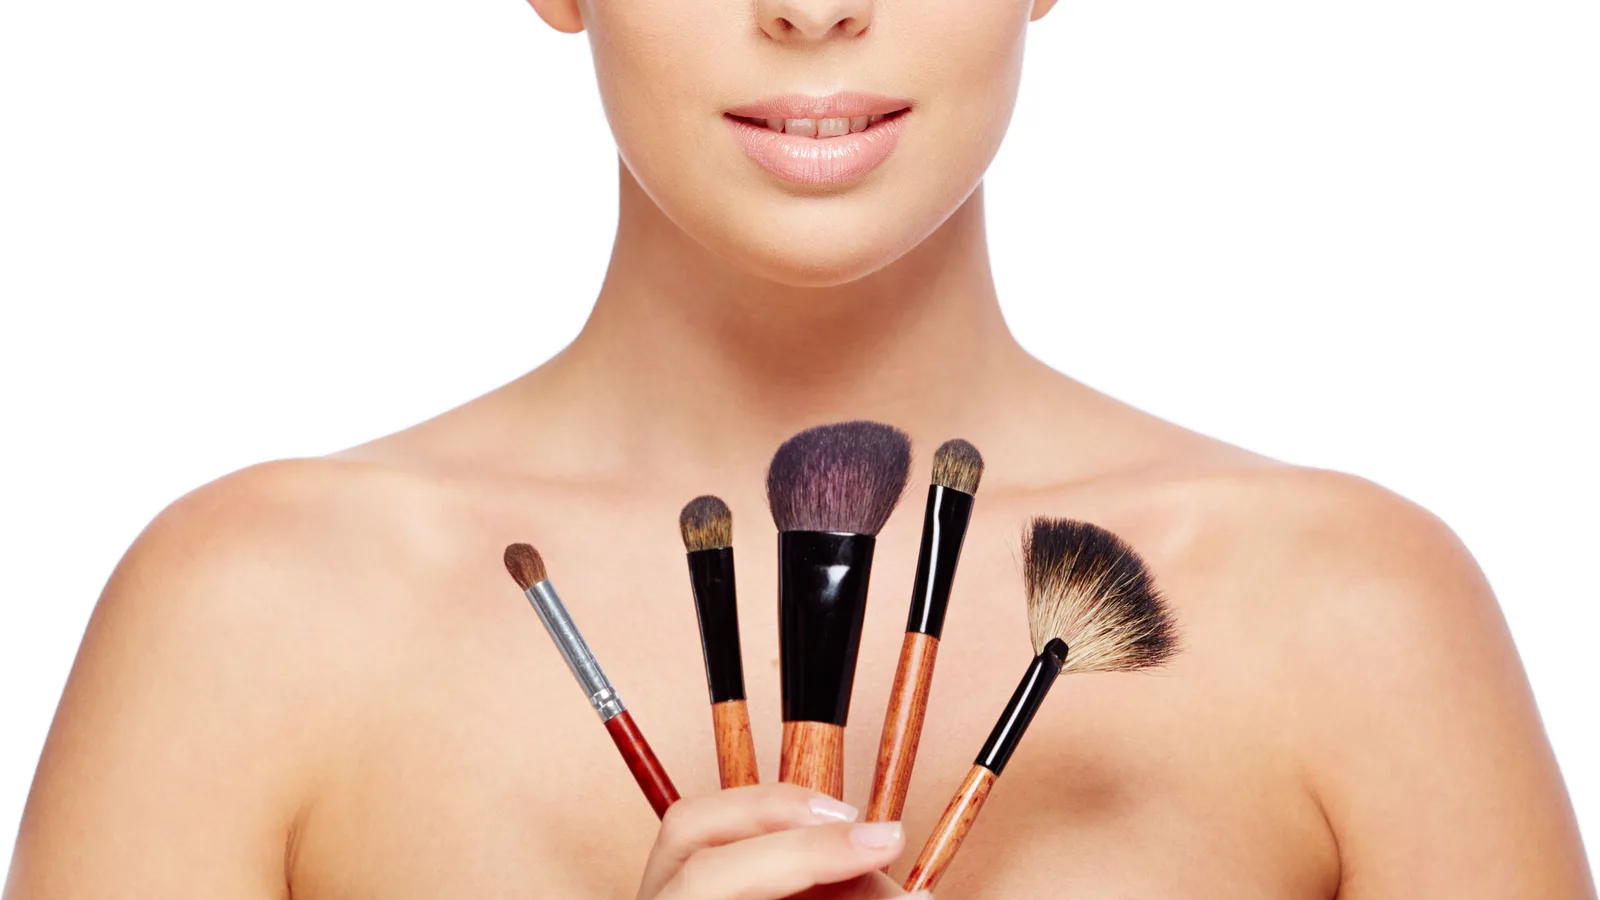
How to Use Highlighter Makeup: Placement, Blending and Order
Learn where to place highlighter, which formula to use and how to blend it so it flatters your skin tone instead of sitting in patches.
Looks, Step by Step