How to Clean a Beautyblender: Step-by-Step Washing Guide
A simple, safe way to wash a Beautyblender: the everyday method, a deeper clean for set-in foundation, how to dry it properly and what to avoid.
The short answer
Wet the sponge through with lukewarm water, work in a small amount of mild soap with your fingertips, squeeze it through repeatedly until the water runs clear, then press the excess water out in a clean towel and leave it to air-dry completely in the open.
That is the whole job — it takes a couple of minutes. Do that after every use if you can, and give the sponge a longer soak once a week or whenever foundation has started to set into the foam. The two things that matter most are lukewarm rather than hot water and squeezing rather than wringing, because hot water and twisting are what actually shorten a sponge's life.
- Water temperature
- Lukewarm — comfortable on the back of your hand, never hot
- Soap
- A mild, preferably fragrance-free soap, or a solid sponge cleanser
- Everyday wash
- After each use, or at least every couple of days
- Deeper clean
- Once a week, or whenever the sponge still looks tinted after washing
- Drying
- Air-dry fully in the open before it goes back in a bag or drawer
What you need before you start
Nothing specialised is required, but having these to hand makes the job quicker and gentler on the sponge:
- Lukewarm running water. A basin of clean water works too, but running water rinses far more thoroughly.
- A mild soap. Liquid hand soap, a mild bar soap, baby shampoo or a solid sponge cleanser are all fine. Avoid anything with exfoliating grains, heavy fragrance or added moisturisers that leave a film.
- A small bowl, if you are doing the deeper soak.
- A clean towel or kitchen paper to press the water out.
- A couple of drops of olive oil or a cleansing oil for stubborn, oil-based foundation stains.
- A ventilated spot to dry it — a shelf, a drying rack or the edge of a clean dish rack, not a sealed container.
How to wash your Beautyblender after every use
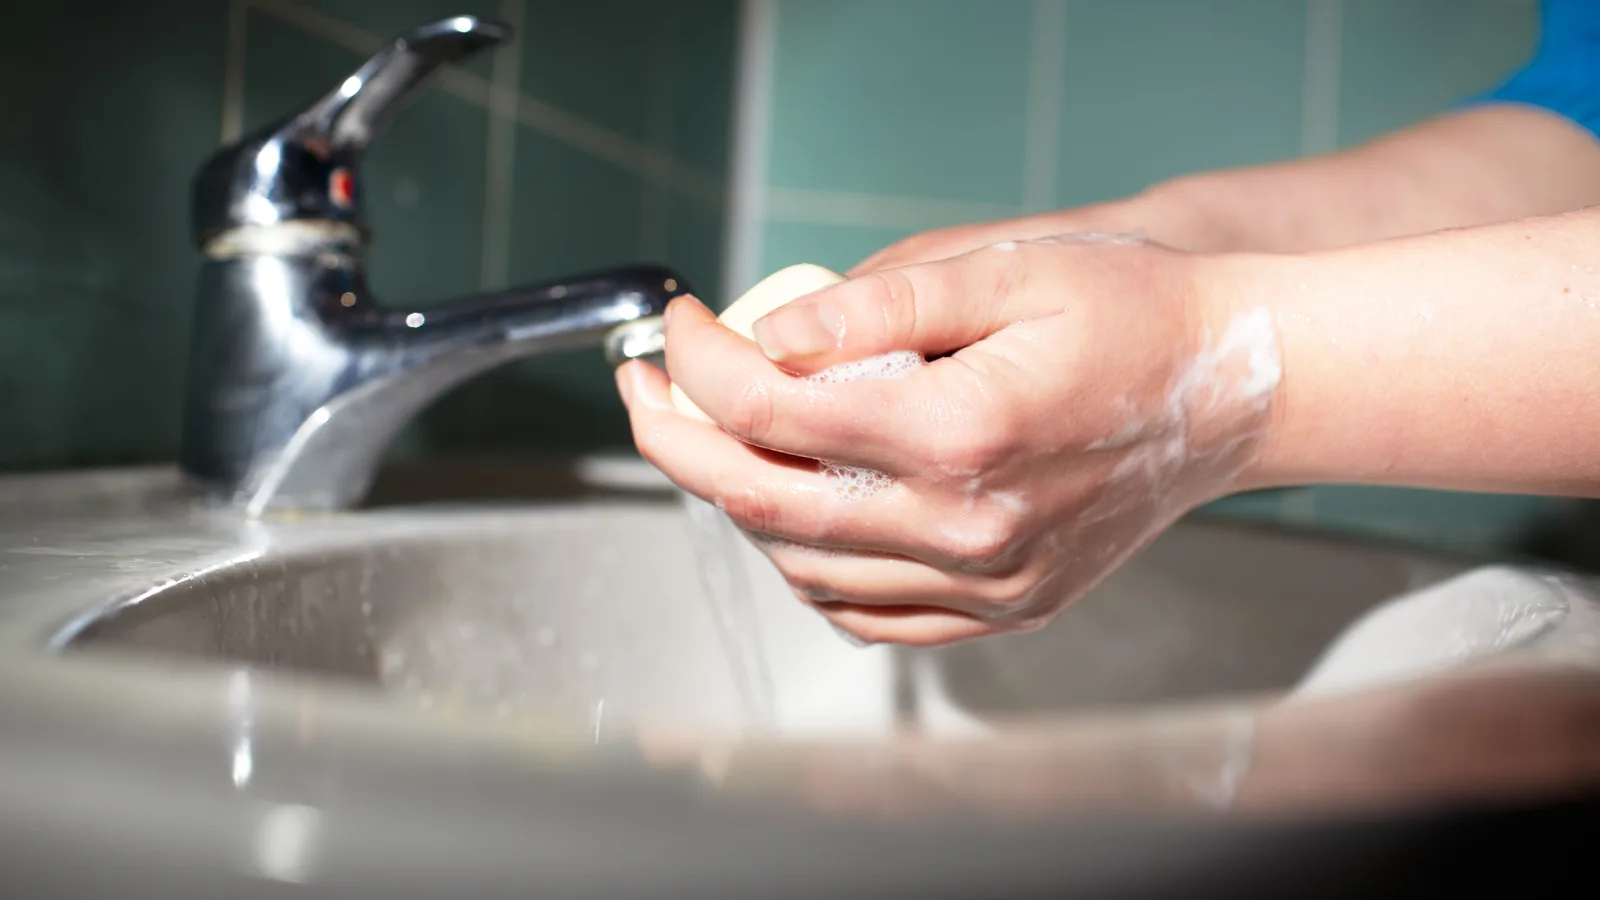
1. Wet the sponge all the way through
Hold it under lukewarm running water and squeeze it several times until it swells and feels evenly damp. A dry sponge takes up soap unevenly, and foundation trapped in the middle of the foam will not shift.
2. Add a small amount of mild soap
A pea-sized squeeze of liquid soap, or a rub across a bar of soap, is enough for one sponge. More soap simply means more rinsing, and leftover soap dries into a stiff, crunchy sponge.
3. Work the soap in with your fingertips
Press and squeeze the sponge between your fingers and palm, flexing it in different directions so the soap reaches the centre. Do not twist or wring it like a cloth — that tears the foam along its seams and distorts the shape.
4. Rinse until the water runs clear
Keep squeezing under lukewarm running water, then check the water coming out. If it is still tinted, carry on rinsing or wash it again. Tinted water means tinted residue is still sitting in the foam.
5. Repeat once if the sponge was heavily loaded
Two quick washes beat one long, soapy soak. If you have been using a full-coverage foundation, expect to go round twice.
6. Press the water out in a clean towel
Fold the sponge inside a clean towel and press it flat with your palm, then leave it somewhere open to finish drying. It should end up damp rather than wet — the sponge is designed to be used slightly damp anyway.
A deeper clean for set-in foundation
A weekly deeper clean handles what a quick wash leaves behind: the greyish tint, the patches of foundation at the edges, and the slightly slippery feel that tells you product has built up inside the foam.
1. Soak it in a bowl of lukewarm soapy water
A small bowl of lukewarm water with a drop of mild soap, left for a few minutes, softens dried foundation so it lifts out instead of being scrubbed out.
2. Treat stubborn patches with a drop of oil
Liquid foundation is oil-based, and oil dissolves it far better than soap alone. Work a couple of drops of olive oil or a cleansing oil into the stained area with your fingers, give it a minute, then follow with soap as normal.
3. Squeeze and flex the stained areas
Use the same press-and-squeeze motion, concentrating on the edges and the pointed tip where product collects. No nails — a nick in the foam becomes a tear within a few washes.
4. Rinse far longer than feels necessary
Any oil or soap left inside the sponge will end up on your skin the next time you use it, which is a common cause of breakouts along the cheek and jaw. Rinse, squeeze, and repeat until the water is completely clear and the sponge no longer feels slippery.
5. Dry it completely before it goes anywhere near a bag
See the next section — drying is the part that decides whether the sponge stays fresh.
How to dry and store it
Drying is not an afterthought. A sponge that stays damp is the one thing that genuinely shortens its life and makes it unpleasant to use.
- Squeeze first, then air-dry. Press the water out in a towel, then leave the sponge in an open, ventilated spot at room temperature.
- Give it air on all sides. Resting it on a small rack, a clean grill or the edge of a dish rack is better than leaving it flat on a solid surface, where the underside stays wet.
- Keep it out of direct sun and away from radiators. Strong heat warps the shape and breaks the foam down faster than plain air drying.
- Store it loose, not sealed. Once it is bone dry, it can go back in a drawer or a makeup bag — but never while it is still damp.
What commonly goes wrong — and how to fix it
Problem
What is happening
- It still smells after washing
- Soap has not reached the centre, or it was not rinsed out properly
- The tint keeps coming back
- Oil-based foundation has set into the foam
- It has gone hard or crunchy
- Soap residue has dried inside the sponge
- The foam is splitting at the edges
- Twisting or wringing during washing, or catching it with a nail
- Dark speckles that will not rinse out
- Mould or mildew growing in the foam
What to do
- It still smells after washing
- Soak it fully in lukewarm soapy water, rinse longer than you think you need to, and dry it completely in the open
- The tint keeps coming back
- Work in a drop of oil before the soap, then rinse until the water is clear
- It has gone hard or crunchy
- Soak, squeeze and rinse again; if it stays stiff after a proper wash, it is time to replace it
- The foam is splitting at the edges
- Switch to pressing and squeezing only, and keep nails away from the foam
- Dark speckles that will not rinse out
- Throw it away — no amount of washing makes a mouldy sponge safe to press against your face
What will ruin a sponge
These are the shortcuts that circulate online and cost you a sponge — or worse, a breakout:
- Hot or boiling water. It softens and degrades the foam, and can leave the sponge permanently out of shape.
- Bleach, acetone or household cleaners. These are far too aggressive for something that sits against your skin, and they break the foam down.
- Wringing it out like a flannel. Twisting tears the structure from the inside; the split usually shows up a few washes later.
- Leaving it to soak overnight or for days. The foam starts to break down and the water goes stale.
- A hairdryer on a hot setting, a radiator or a sunny windowsill. Fast drying is not worth a warped, brittle sponge.
- The washing machine or dishwasher. Both will distort the shape and knock it about far too roughly.
How often to clean, and when to replace it
How often depends on how you use it. If you blend liquid foundation with a damp sponge every morning, wash it after each use and deep-clean it weekly. If it only comes out for cream blusher at the weekend, a wash after each use and a soak every couple of weeks is realistic — the key point is that it never goes back into storage damp.
Cleaning more often is not fussiness: the sponge is a damp, porous object that you press against your skin, and residue of foundation, moisturiser and skin oils builds up in the foam whether or not you can see it.
Replace the sponge when:
- it has torn, split or lost its rounded shape and no longer bounces back when squeezed;
- it stays greasy, stiff or tinted even after a proper deep clean;
- it smells musty, or shows dark speckles that will not rinse away;
- it has been in rotation for several months of regular use — most brands suggest replacing every few months, and sooner if you use it daily.
Beautyblender cleaning: common questions
Can I clean a Beautyblender with shampoo?
Can I put my Beautyblender in the washing machine?
Is it safe to use the sponge straight after washing?
Should I wash a brand new sponge before the first use?
How can I tell the difference between a stain and mould?
Related articles

How to Apply Foundation: The Best Way, Step by Step
The best way to apply foundation is thin layers, the right tool and a good colour match. Here is the step-by-step method, plus fixes for common mistakes.
Looks, Step by Step
How to Cover Dark Circles: A Step-by-Step Method
A step-by-step guide to covering dark circles: picking the right corrector, applying thin layers, setting without creasing or caking.
Looks, Step by Step
How to Store Makeup Brushes: The Best Way to Keep Them Clean
Keep brushes dry, shaped and dust-free with upright jars, divided drawers and travel rolls — plus the damp-bathroom mistake to avoid.
Looks, Step by Step
How Do You Apply Concealer? A Step-by-Step Guide
How to apply concealer properly: prep the skin, match the shade, blend under the eyes and cover blemishes without caking or creasing.
Looks, Step by Step
How to Cover a Hickey With Makeup (and Make It Last)
Concealer alone leaves a grey patch. Colour correct, conceal and set a hickey properly so it stays hidden through daylight, hugs and a full day out.
Looks, Step by Step
How to Apply False Eyelashes (Strip and Individual)
A step-by-step guide to applying false eyelashes cleanly at home, from trimming and gluing the strip to fixing lifting corners and removing safely.
Looks, Step by Step
How to Apply Makeup Step by Step (With Photo Checks)
A step-by-step makeup routine you can follow and check as you go: skin prep, base, brows, eyes, cheeks and lips, plus fixes for common mistakes.
Looks, Step by Step
How to Apply Mascara Without Clumps or Smudges
Learn how to apply mascara cleanly in a few minutes: prepare lashes, curl, build coats from the roots, avoid clumps and remove it safely.
Looks, Step by Step
How to Choose Concealer Colour: Match Undertone and Job
Match concealer to your undertone and to the job in hand — dark circles, spots or redness — using a daylight test, corrector guidance and quick fixes.
Looks, Step by Step
How to Choose a Foundation Shade That Actually Matches
Match foundation properly: work out your undertone in daylight, swatch three shades along the jaw, allow for oxidation, and check against your neck.
Looks, Step by Step
How to Clean Makeup Brushes: A Step-by-Step Guide
Wash make-up brushes without wrecking the bristles: the short answer, a step-by-step method, drying tips and how often each brush needs a clean.
Looks, Step by Step
How to Do a Natural Makeup Look: Step-by-Step Guide
Learn how to do a natural makeup look in order: skin prep, sheer base, soft brows, wash of colour and a tinted lip, plus fixes for common mistakes.
Looks, Step by Step
How to Do Eye Makeup for Hooded Eyes: A Step-by-Step Guide
Learn how to do eye makeup for hooded eyes: where to place shadow, liner shapes that survive the fold, and fixes for smudging and transfer.
Looks, Step by Step
How to Do Winged Eyeliner for Beginners, Step by Step
A beginner's step-by-step guide to winged eyeliner: choosing a liner you can control, finding your flick angle, building the wing and fixing mistakes.
Looks, Step by Step
How to Get Makeup Out of Clothes: Stain-by-Stain Guide
Blot, lift the oil, then wash: a step-by-step guide to removing foundation, lipstick, mascara and powder from clothes without spreading the stain.
Looks, Step by Step
How to Look Good Without Makeup: A Practical Daily Routine
A practical, no-nonsense guide to looking good without makeup: skin prep, brow and lash grooming, colour, and fixes for what usually goes wrong.
Looks, Step by Step
How to Remove Make-up Properly, Step by Step
How to remove make-up properly, step by step: cleanse eyes first, double cleanse, and avoid the tugging and scrubbing that irritates skin.
Looks, Step by Step
How to Remove Mascara Gently, Without Losing Lashes
A step-by-step guide to taking off mascara gently — including waterproof formulas, lash extensions and the mistakes that leave residue behind.
Looks, Step by Step
How to Remove Waterproof Mascara Without Losing Lashes
Waterproof mascara needs oil, not water. Here's the gentle step-by-step removal method, plus fixes for residue, stinging and lash loss.
Looks, Step by Step
How to Stop Mascara Smudging: A Practical Guide
Stop mascara smudging with a practical routine: prep oily lids, apply less, shield the under-eye and set with powder. Plus fixes for panda eyes.
Looks, Step by Step
How to Use Colour Corrector: A Step-by-Step Guide
Colour corrector neutralises redness, dark circles and sallowness before concealer. Learn which shade to pick, how much to use and how to apply it.
Looks, Step by Step
How to Use Highlighter Makeup: Placement, Blending and Order
Learn where to place highlighter, which formula to use and how to blend it so it flatters your skin tone instead of sitting in patches.
Looks, Step by Step
How to Use Laura Geller Makeup: Baked Powders, Step by Step
A step-by-step guide to using Laura Geller baked powders: priming, swirling, tapping and buffing foundation, blush, eyeshadow and highlighter.
Looks, Step by Step