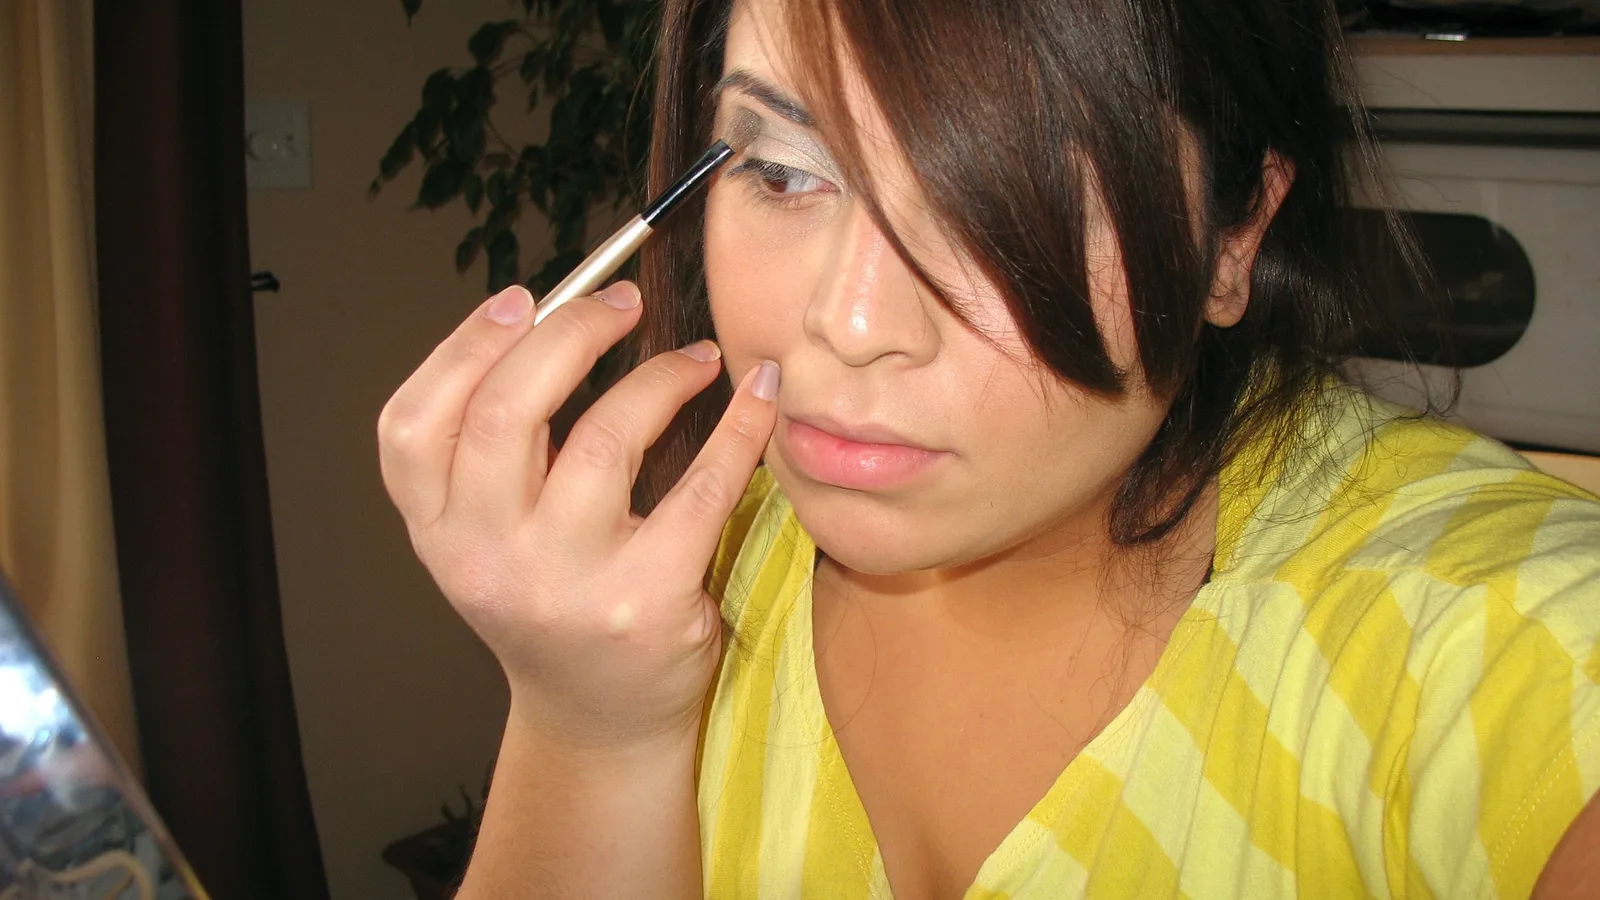
How to Do Winged Eyeliner for Beginners, Step by Step
A beginner's step-by-step guide to winged eyeliner: choosing a liner you can control, finding your flick angle, building the wing and fixing mistakes.
The short answer
A winged eyeliner is a line drawn along the upper lash line that carries on past the outer corner of the eye and tapers into a flick, or wing. What makes it manageable for beginners is the order you draw it in: build the wing first, then join it to the lash line. Working from the outside in means you never have to guess where the flick should land — you draw a small closed triangle at the outer corner, fill it, and then run the lash line out to meet it.
Two things separate a wing that looks deliberate from one that looks wobbly: the angle of the flick, and a line that stays thin at the inner corner and thickens gradually towards the outer corner. Everything else — which liner you use, whether you bother with tape — is preference.
What you need before you start
You can do this with what's already in most makeup bags. Gather it before you begin so you're not hunting for a cotton bud with one eye half done.
- A mirror at eye level, with light coming from in front of you rather than above or behind. Daylight or a lit bathroom mirror is ideal; overhead light alone casts a shadow exactly where you need to see.
- A liner you can control — a kohl pencil, a gel liner with a small angled brush, or a fine felt-tip pen.
- Translucent powder and a small brush for setting the lid.
- Cotton buds and a little oil-based eye makeup remover or micellar water for corrections.
- An eyelash curler and mascara, saved until the liner is finished.
- Somewhere to rest your elbow — a table edge, or the heel of your hand against your cheek.
Pick a liner you can actually control
The three beginner-friendly liners, and what each is good at
What matters
Kohl pencil
- Control on a first attempt
- Forgiving: you can smudge and redraw with a fingertip
- Sharpness of the flick
- Soft edges; a crisp point is hard to achieve
- How easy it is to fix
- Easiest — blend it out and start again
- Best for
- Learning the shape and placement with low stakes
Gel liner + angled brush
- Control on a first attempt
- Good once you're used to it, because the angled brush does the work
- Sharpness of the flick
- Sharp, if you wipe excess product off the brush first
- How easy it is to fix
- Easy while wet, set once dry
- Best for
- A defined wing you can smudge or leave crisp
Fine felt-tip pen
- Control on a first attempt
- Very good — the firm nib holds its shape and doesn't splay
- Sharpness of the flick
- Sharp, though the very tip blunts as the nib softens
- How easy it is to fix
- Harder; once dry you need remover
- Best for
- A crisp everyday flick
If you're completely new to it, start with a pencil to learn where the wing goes, then move to a pen or gel liner once the shape is automatic. Learning the placement and the precision at the same time is what makes people give up.
Prep the eyelid so the wing stays put
1. Start on clean, dry skin
Cleanse the eye area and make sure no night cream, serum or cleanser residue is left on the lid. Any oil under the liner makes it slide and settle into the crease within an hour.
2. Blot, then powder
Press — don't sweep — a thin layer of translucent powder over the lid and up towards the brow bone with a small brush. A dry surface grips liner much better than a smooth, freshly moisturised one.
3. Go light on concealer
If you use concealer on the lid, use less than you think you need and set it. A thick layer of creamy concealer is the most common reason liner transfers onto the upper lid.
4. Curl your lashes now, mascara later
Curl before you draw so you're not pressing a curler against wet liner. Leave mascara until the very end, so the wand doesn't drag through the wing.
Find your flick angle
The wing should follow the direction of your lower lash line, extended outwards past the outer corner. Drawn horizontally or angled downwards, it drags the eye down; drawn too steeply, it looks like a tick rather than a flick.
- Sit square-on to the mirror rather than tilting your chin up — you want to see the eye as other people see it.
- Hold a pencil or brush handle against the outer corner of your lower lash line and follow it up towards the tail of your brow. That's your angle.
- Mark the end point lightly on both eyes with the tip of your liner before you draw either wing.
- Step back to arm's length and check the two marks match. Adjust now, while a swipe of remover costs you nothing.
Draw the wing, step by step
1. Draw the top edge of the wing
With the eye open and looking straight ahead, start at the outer corner and draw a short line up and out along your guide angle, stopping where you want the flick to end. Keep the pressure light — you're placing an edge, not filling in yet.
2. Close the triangle
From the tip of that first line, draw a second short line back down to meet the outer corner of the upper lash line. You now have a small triangle sitting at the corner of the eye.
3. Fill the triangle in
Fill the shape with small strokes rather than one heavy pass. With a pen, let the first layer dry before going over it; with a pencil, short back-and-forth strokes keep the colour even.
4. Join the wing to the lash line
Draw along the roots of the upper lashes, starting at the inner corner or the middle of the lid, and thicken gradually as you reach the outer corner. Aim for one continuous line rather than a bulge where the wing meets the lashes.
5. Sharpen the flick and tidy underneath
Dip a cotton bud in oil-based remover, blot off the excess, and run it along the underside of the wing to straighten the edge. A pointed bud pulled outwards gives a sharper tip. Work in small touches, checking from arm's length as you go.
6. Finish with mascara
Curl again if you need to, then mascara on the upper lashes. Doing it last keeps the wand out of a wet wing and stops lashes poking through the liner.
Adjust the wing to suit your eye shape
Eye shape
Where to place the wing
- Hooded or deep-set
- Take the wing out more horizontally than upwards, and check it with the eye open
- Round
- Extend outwards rather than up, keeping the lash line thin and thickening only at the very end
- Downturned
- Begin the wing slightly above the outer corner and take it out at a gentle upward angle
- Close-set
- Keep the inner corner very thin and take the wing further outwards
What to watch for
- Hooded or deep-set
- A steep flick disappears into the crease the moment you open your eye
- Round
- Too much vertical lift makes round eyes look surprised
- Downturned
- Following the droop exactly, which pulls the eye further down
- Close-set
- A heavy inner corner, which narrows the space between the eyes
What commonly goes wrong — and the fix
Problem
Why it happens
- The two wings don't match
- No face is symmetrical; one eye is usually more hooded or set slightly differently
- The wing drags the eye downwards
- The line follows the droop of the outer corner instead of the lower lash line
- It transfers onto the upper lid
- Oily lids, thick product or unset concealer underneath
- The wing vanishes when you open your eye
- It was drawn on a closed or stretched lid, in or above the crease
- The line is patchy and tugs
- A dry pencil or a blunt tip dragging on the skin
- The tip looks thick and crusty
- Too much product on the brush or nib, or going over half-dry liner
How to fix it
- The two wings don't match
- Check both from a step back, then correct the larger wing by removing liner from its top edge rather than adding to the smaller one
- The wing drags the eye downwards
- Wipe it off and redraw along the lower lash line extended outwards
- It transfers onto the upper lid
- Blot and powder first, build in thin layers and let each one set
- The wing vanishes when you open your eye
- Draw the outline with the eye open and looking straight ahead
- The line is patchy and tugs
- Warm the pencil on the back of your hand and sharpen it to a fine point
- The tip looks thick and crusty
- Wipe the brush, let the layer dry, then add a second thin pass
Keeping your eyes comfortable and safe
- Sharpen pencils before and after use, and never share a pencil, sharpener or any other eye product. If a pencil has been dropped, sharpen away the top layer before it goes near your eye.
- Keep liner off the waterline if your eyes are sensitive. Product sitting on the moist inner edge can block the glands along the lid margin and make eyes water or sting. Staying on the lash line and outer corner is kinder.
- Never sleep in eye makeup. Remove it fully with an oil-based remover and a cotton pad, then do a second gentle pass along the lash line to clear any residue.
- Bin anything that has changed. If a liner smells odd, has dried out or separated, or stings when you apply it, it's finished — eye products have a shorter life than the rest of your makeup.
- Stop if something's wrong. Redness, swelling, itching or a tender bump along the lid needs advice from a pharmacist or doctor, not more concealer.
A practice routine that actually works
Winged liner is a hand skill, not a knowledge problem — the shape is simple, and the difficulty is in doing it the same way twice. A few habits speed that up:
- Practise in the evening, just before you cleanse, so a bad wing costs you nothing but five minutes.
- Do your harder eye first. That's usually the one on your non-dominant side, and doing it while your hand is steadiest makes matching easier.
- Change one thing at a time. Keep the same liner for a week before experimenting with a different angle or thickness.
- Judge from arm's length, not from 10 cm. Most wings that look wonky up close look perfectly fine at normal viewing distance.
- Expect a few weeks. Accuracy comes first and speed follows; trying to draw it quickly before the shape is automatic is what makes it look rushed.
Winged eyeliner questions
How long does it take to get good at winged eyeliner?
Can I get a sharp wing with a pencil liner only?
Do I need special eye makeup remover for mistakes?
What should I do if the second wing goes completely wrong?
Does winged eyeliner work on a bare face?
Related articles

How to Apply Foundation: The Best Way, Step by Step
The best way to apply foundation is thin layers, the right tool and a good colour match. Here is the step-by-step method, plus fixes for common mistakes.
Looks, Step by Step
How to Cover Dark Circles: A Step-by-Step Method
A step-by-step guide to covering dark circles: picking the right corrector, applying thin layers, setting without creasing or caking.
Looks, Step by Step
How to Store Makeup Brushes: The Best Way to Keep Them Clean
Keep brushes dry, shaped and dust-free with upright jars, divided drawers and travel rolls — plus the damp-bathroom mistake to avoid.
Looks, Step by Step
How to Clean a Beautyblender: Step-by-Step Washing Guide
A simple, safe way to wash a Beautyblender: the everyday method, a deeper clean for set-in foundation, how to dry it properly and what to avoid.
Looks, Step by Step
How Do You Apply Concealer? A Step-by-Step Guide
How to apply concealer properly: prep the skin, match the shade, blend under the eyes and cover blemishes without caking or creasing.
Looks, Step by Step
How to Cover a Hickey With Makeup (and Make It Last)
Concealer alone leaves a grey patch. Colour correct, conceal and set a hickey properly so it stays hidden through daylight, hugs and a full day out.
Looks, Step by Step
How to Apply False Eyelashes (Strip and Individual)
A step-by-step guide to applying false eyelashes cleanly at home, from trimming and gluing the strip to fixing lifting corners and removing safely.
Looks, Step by Step
How to Apply Makeup Step by Step (With Photo Checks)
A step-by-step makeup routine you can follow and check as you go: skin prep, base, brows, eyes, cheeks and lips, plus fixes for common mistakes.
Looks, Step by Step
How to Apply Mascara Without Clumps or Smudges
Learn how to apply mascara cleanly in a few minutes: prepare lashes, curl, build coats from the roots, avoid clumps and remove it safely.
Looks, Step by Step
How to Choose Concealer Colour: Match Undertone and Job
Match concealer to your undertone and to the job in hand — dark circles, spots or redness — using a daylight test, corrector guidance and quick fixes.
Looks, Step by Step
How to Choose a Foundation Shade That Actually Matches
Match foundation properly: work out your undertone in daylight, swatch three shades along the jaw, allow for oxidation, and check against your neck.
Looks, Step by Step
How to Clean Makeup Brushes: A Step-by-Step Guide
Wash make-up brushes without wrecking the bristles: the short answer, a step-by-step method, drying tips and how often each brush needs a clean.
Looks, Step by Step
How to Do a Natural Makeup Look: Step-by-Step Guide
Learn how to do a natural makeup look in order: skin prep, sheer base, soft brows, wash of colour and a tinted lip, plus fixes for common mistakes.
Looks, Step by Step
How to Do Eye Makeup for Hooded Eyes: A Step-by-Step Guide
Learn how to do eye makeup for hooded eyes: where to place shadow, liner shapes that survive the fold, and fixes for smudging and transfer.
Looks, Step by Step
How to Get Makeup Out of Clothes: Stain-by-Stain Guide
Blot, lift the oil, then wash: a step-by-step guide to removing foundation, lipstick, mascara and powder from clothes without spreading the stain.
Looks, Step by Step
How to Look Good Without Makeup: A Practical Daily Routine
A practical, no-nonsense guide to looking good without makeup: skin prep, brow and lash grooming, colour, and fixes for what usually goes wrong.
Looks, Step by Step
How to Remove Make-up Properly, Step by Step
How to remove make-up properly, step by step: cleanse eyes first, double cleanse, and avoid the tugging and scrubbing that irritates skin.
Looks, Step by Step
How to Remove Mascara Gently, Without Losing Lashes
A step-by-step guide to taking off mascara gently — including waterproof formulas, lash extensions and the mistakes that leave residue behind.
Looks, Step by Step
How to Remove Waterproof Mascara Without Losing Lashes
Waterproof mascara needs oil, not water. Here's the gentle step-by-step removal method, plus fixes for residue, stinging and lash loss.
Looks, Step by Step
How to Stop Mascara Smudging: A Practical Guide
Stop mascara smudging with a practical routine: prep oily lids, apply less, shield the under-eye and set with powder. Plus fixes for panda eyes.
Looks, Step by Step
How to Use Colour Corrector: A Step-by-Step Guide
Colour corrector neutralises redness, dark circles and sallowness before concealer. Learn which shade to pick, how much to use and how to apply it.
Looks, Step by Step
How to Use Highlighter Makeup: Placement, Blending and Order
Learn where to place highlighter, which formula to use and how to blend it so it flatters your skin tone instead of sitting in patches.
Looks, Step by Step
How to Use Laura Geller Makeup: Baked Powders, Step by Step
A step-by-step guide to using Laura Geller baked powders: priming, swirling, tapping and buffing foundation, blush, eyeshadow and highlighter.
Looks, Step by Step