How to Apply Mascara Without Clumps or Smudges
Learn how to apply mascara cleanly in a few minutes: prepare lashes, curl, build coats from the roots, avoid clumps and remove it safely.
The short answer
The short answer: start with clean, dry lashes. Curl them first if you use a curler, wipe the excess mascara from the wand, then wiggle the wand at the roots and sweep up to the tips. Build thin coats rather than one heavy one, comb through any clumps while the mascara is still tacky, and keep the lower lashes light. Give it a few seconds to set before you blink hard or touch your eyes.
What you need before you start
You do not need much, but it helps to have everything within reach before you start.
- A mascara tube that is within its period after opening, smells normal and has not dried out
- A mirror and bright, even light in front of you
- A lash curler if you use one, with a clean, intact pad
- A clean spoolie or lash comb
- Cotton buds and a tissue
- Eye makeup remover suited to your mascara, plus your usual cleanser
Prep your lashes before the wand comes out
1. Wash your hands and check the tube
Mascara goes right next to the eye, so start with clean hands. Check that the tube is within its period after opening and that the mascara still smells and looks normal. If it has dried, thickened or smells off, do not use it.
2. Start with clean, dry lashes
Do your skincare and base first and let anything around the eyes settle. Oil, cream or leftover makeup on the lashes stops mascara gripping and makes it more likely to smudge.
3. Curl before mascara
If you use a lash curler, use it now. Clamp gently at the base of the lashes, hold for a few seconds, then press again nearer the tips. Do not pull or clamp so hard that it pinches.
4. Comb the lashes
Run a clean spoolie through the upper and lower lashes to separate them and lift away any old residue. This gives the mascara a cleaner surface to cling to.
5. Set up your mirror and light
Put the mirror slightly below eye level so you look down into it, and have your light in front of you rather than behind. Good light shows clumps and patches before they set.
Apply mascara step by step
1. Load the wand without pumping
Pull the wand out slowly and wipe it once against the rim of the tube. If the mascara is new or very wet, blot the tip lightly on a clean tissue. Never pump the wand in and out; it pushes air into the tube and dries the mascara out.
2. Set your angle
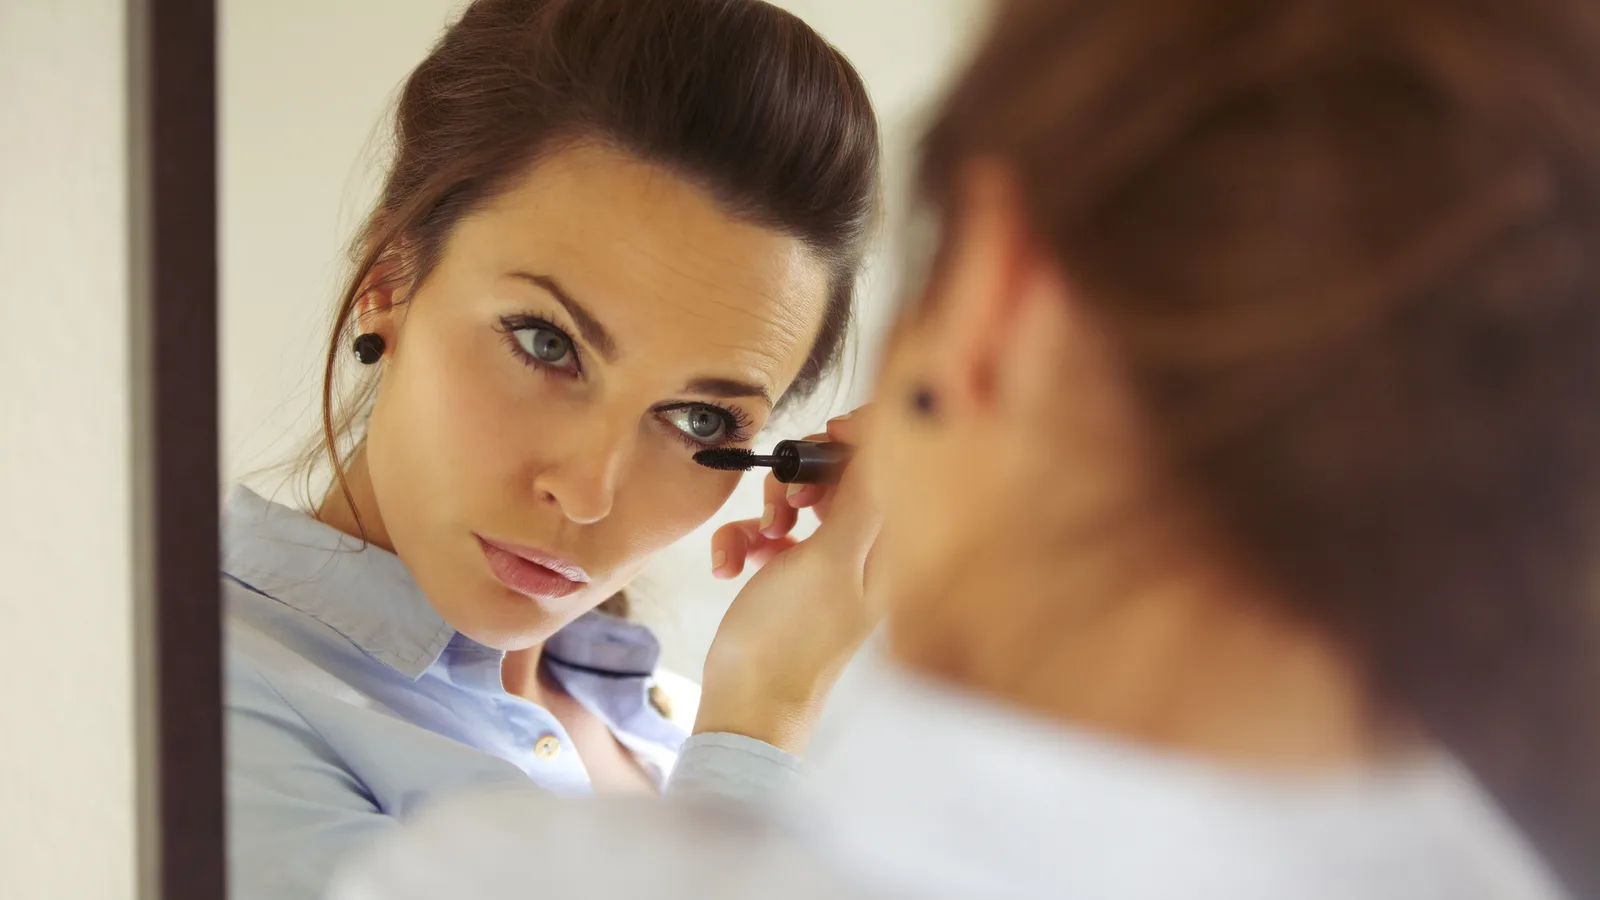
Look down into the mirror with your chin slightly up and keep the eyelid relaxed. Rest the little finger of your wand hand on your cheek if you need more control.
3. Start at the roots
Place the wand at the base of the upper lashes and wiggle it gently from side to side to put colour at the roots. Then sweep upwards to the tips in one smooth motion.
4. Cover the whole lash line
Work across the lash line in small sections. Use the tip of the wand for the short inner and outer lashes, where a full wand can deposit too much product.
5. Build a second thin coat if you want it
Let the first coat become tacky, not bone dry, then apply a second thin coat in the same way. Two or three thin coats look cleaner than one thick one.
6. Separate while it is tacky
Before the mascara sets, run a clean spoolie or lash comb from root to tip. Work gently and quickly; if you wait until it is dry, combing will flake the mascara.
7. Let it set and check for specks
Look straight ahead and let the mascara set for a few seconds. Lift any specks from the lid or under-eye with a dry cotton bud. Do not rub or add more mascara over the top.
Lower lashes and the inner corners
Lower lashes need far less product than upper lashes. Use the tip of the wand, not the side, and sweep lightly from root to tip. If you tend to smudge, hold a tissue under the lower lashes while you work, or pick up a little mascara on a clean spoolie instead of going back into the tube.
For the inner corners, use the very tip of the wand and a light touch. Coating these short lashes as heavily as the outer ones is a common reason mascara ends up on the skin below the eye.
Build the look you want
- Natural: one thin coat, with the wand wiped almost dry. Concentrate on the roots and the outer half if you want a more open look.
- Longer: wiggle at the roots, then sweep straight up to the tips. Avoid zig-zagging all the way up, which can bunch the lashes together.
- Fuller: build two or three thin coats at the roots, letting each one become tacky before the next. Keep combing through to stop clumps.
- More lifted: curl before mascara and look slightly down as you apply. Do not overload the outer corners, which can weigh lashes down.
Common mistakes and how to fix them
Most mascara problems come from too much product, recoating over dry mascara or rushing the set.
Problem
Likely cause
- Clumps
- Too much mascara on the wand, or a second coat over dry mascara
- Mascara on the eyelid
- Looking up or blinking before the mascara sets
- Smudges under the eye
- Oily skin, watery eyes, humidity or heavy lower lashes
- Flaking
- Mascara that has dried out or changed texture, or too many coats
- Straight lashes
- Curling after mascara, or skipping the curler
- Stinging or watering
- Product in the eye, or irritation from a formula
Fix
- Clumps
- Wipe the wand, apply thin coats while the first is still tacky, and comb through
- Mascara on the eyelid
- Keep the eye relaxed for a few seconds and lift specks with a dry cotton bud
- Smudges under the eye
- Use less on the lower lashes, blot tears rather than wiping, and choose a smudge-resistant formula if it keeps happening
- Flaking
- Replace mascara that smells or feels different, and stop at two or three thin coats
- Straight lashes
- Curl before mascara; never clamp lashes that already have mascara on them
- Stinging or watering
- Stop, rinse with clean water, remove the mascara and seek advice if it continues
Keeping it neat through the day
Give mascara a minute or two to set before you put on glasses, rub your eyes or touch your contact lenses. Tears and sweat are the usual culprits: blot with a tissue instead of wiping, and avoid rubbing. If a smudge appears, let it dry and then flick it away with a cotton bud rather than adding more mascara on top.
In humid weather or if your eyelids are oily, a smudge-resistant formula can help, but apply less rather than layering more. At the end of the day, remove mascara before bed; sleeping in it dries the lashes and can cause breakage.
Removing mascara without damaging lashes
Waterproof mascara needs an oil-based eye makeup remover; ordinary cleanser alone often means rubbing, which is what you want to avoid. Soak a cotton pad, close the eye and hold the pad over the lashes for about 10 to 20 seconds. Let the remover do the work, then wipe gently downwards. Do not tug at the lashes or scrub the lash line.
Use a cotton bud for the inner corners and any mascara left under the eye. Follow with your usual cleanser to remove residue, and check the lashes are clean before bed. If you wear contact lenses, take them out before removing eye makeup.
Hygiene and safety
- Do not share mascara, and do not add water or saliva to a dry tube.
- Follow the period-after-opening symbol on the tube; if the smell, texture or colour changes, stop using it.
- Do not use eye makeup that was used during an eye infection. Throw it away and get advice if symptoms continue.
- Stop using mascara if you get redness, swelling, pain or blurred vision, and seek professional advice.
- Never curl your lashes after applying mascara; the curler can stick, pull and break them.
- Keep mascara out of direct sunlight and close the tube properly.
Common mascara questions
Do I need to curl my lashes before mascara?
Why does my second coat clump?
Can I put mascara on my lower lashes?
How should I store mascara?
What if mascara gets in my eye?
Can I use mascara after an eye infection?
Related articles
How to Apply Foundation: The Best Way, Step by Step
The best way to apply foundation is thin layers, the right tool and a good colour match. Here is the step-by-step method, plus fixes for common mistakes.
Looks, Step by Step
How to Cover Dark Circles: A Step-by-Step Method
A step-by-step guide to covering dark circles: picking the right corrector, applying thin layers, setting without creasing or caking.
Looks, Step by Step
How to Store Makeup Brushes: The Best Way to Keep Them Clean
Keep brushes dry, shaped and dust-free with upright jars, divided drawers and travel rolls — plus the damp-bathroom mistake to avoid.
Looks, Step by Step
How to Clean a Beautyblender: Step-by-Step Washing Guide
A simple, safe way to wash a Beautyblender: the everyday method, a deeper clean for set-in foundation, how to dry it properly and what to avoid.
Looks, Step by Step
How Do You Apply Concealer? A Step-by-Step Guide
How to apply concealer properly: prep the skin, match the shade, blend under the eyes and cover blemishes without caking or creasing.
Looks, Step by Step
How to Cover a Hickey With Makeup (and Make It Last)
Concealer alone leaves a grey patch. Colour correct, conceal and set a hickey properly so it stays hidden through daylight, hugs and a full day out.
Looks, Step by Step
How to Apply False Eyelashes (Strip and Individual)
A step-by-step guide to applying false eyelashes cleanly at home, from trimming and gluing the strip to fixing lifting corners and removing safely.
Looks, Step by Step
How to Apply Makeup Step by Step (With Photo Checks)
A step-by-step makeup routine you can follow and check as you go: skin prep, base, brows, eyes, cheeks and lips, plus fixes for common mistakes.
Looks, Step by Step
How to Choose Concealer Colour: Match Undertone and Job
Match concealer to your undertone and to the job in hand — dark circles, spots or redness — using a daylight test, corrector guidance and quick fixes.
Looks, Step by Step
How to Choose a Foundation Shade That Actually Matches
Match foundation properly: work out your undertone in daylight, swatch three shades along the jaw, allow for oxidation, and check against your neck.
Looks, Step by Step
How to Clean Makeup Brushes: A Step-by-Step Guide
Wash make-up brushes without wrecking the bristles: the short answer, a step-by-step method, drying tips and how often each brush needs a clean.
Looks, Step by Step
How to Do a Natural Makeup Look: Step-by-Step Guide
Learn how to do a natural makeup look in order: skin prep, sheer base, soft brows, wash of colour and a tinted lip, plus fixes for common mistakes.
Looks, Step by Step
How to Do Eye Makeup for Hooded Eyes: A Step-by-Step Guide
Learn how to do eye makeup for hooded eyes: where to place shadow, liner shapes that survive the fold, and fixes for smudging and transfer.
Looks, Step by Step
How to Do Winged Eyeliner for Beginners, Step by Step
A beginner's step-by-step guide to winged eyeliner: choosing a liner you can control, finding your flick angle, building the wing and fixing mistakes.
Looks, Step by Step
How to Get Makeup Out of Clothes: Stain-by-Stain Guide
Blot, lift the oil, then wash: a step-by-step guide to removing foundation, lipstick, mascara and powder from clothes without spreading the stain.
Looks, Step by Step
How to Look Good Without Makeup: A Practical Daily Routine
A practical, no-nonsense guide to looking good without makeup: skin prep, brow and lash grooming, colour, and fixes for what usually goes wrong.
Looks, Step by Step
How to Remove Make-up Properly, Step by Step
How to remove make-up properly, step by step: cleanse eyes first, double cleanse, and avoid the tugging and scrubbing that irritates skin.
Looks, Step by Step
How to Remove Mascara Gently, Without Losing Lashes
A step-by-step guide to taking off mascara gently — including waterproof formulas, lash extensions and the mistakes that leave residue behind.
Looks, Step by Step
How to Remove Waterproof Mascara Without Losing Lashes
Waterproof mascara needs oil, not water. Here's the gentle step-by-step removal method, plus fixes for residue, stinging and lash loss.
Looks, Step by Step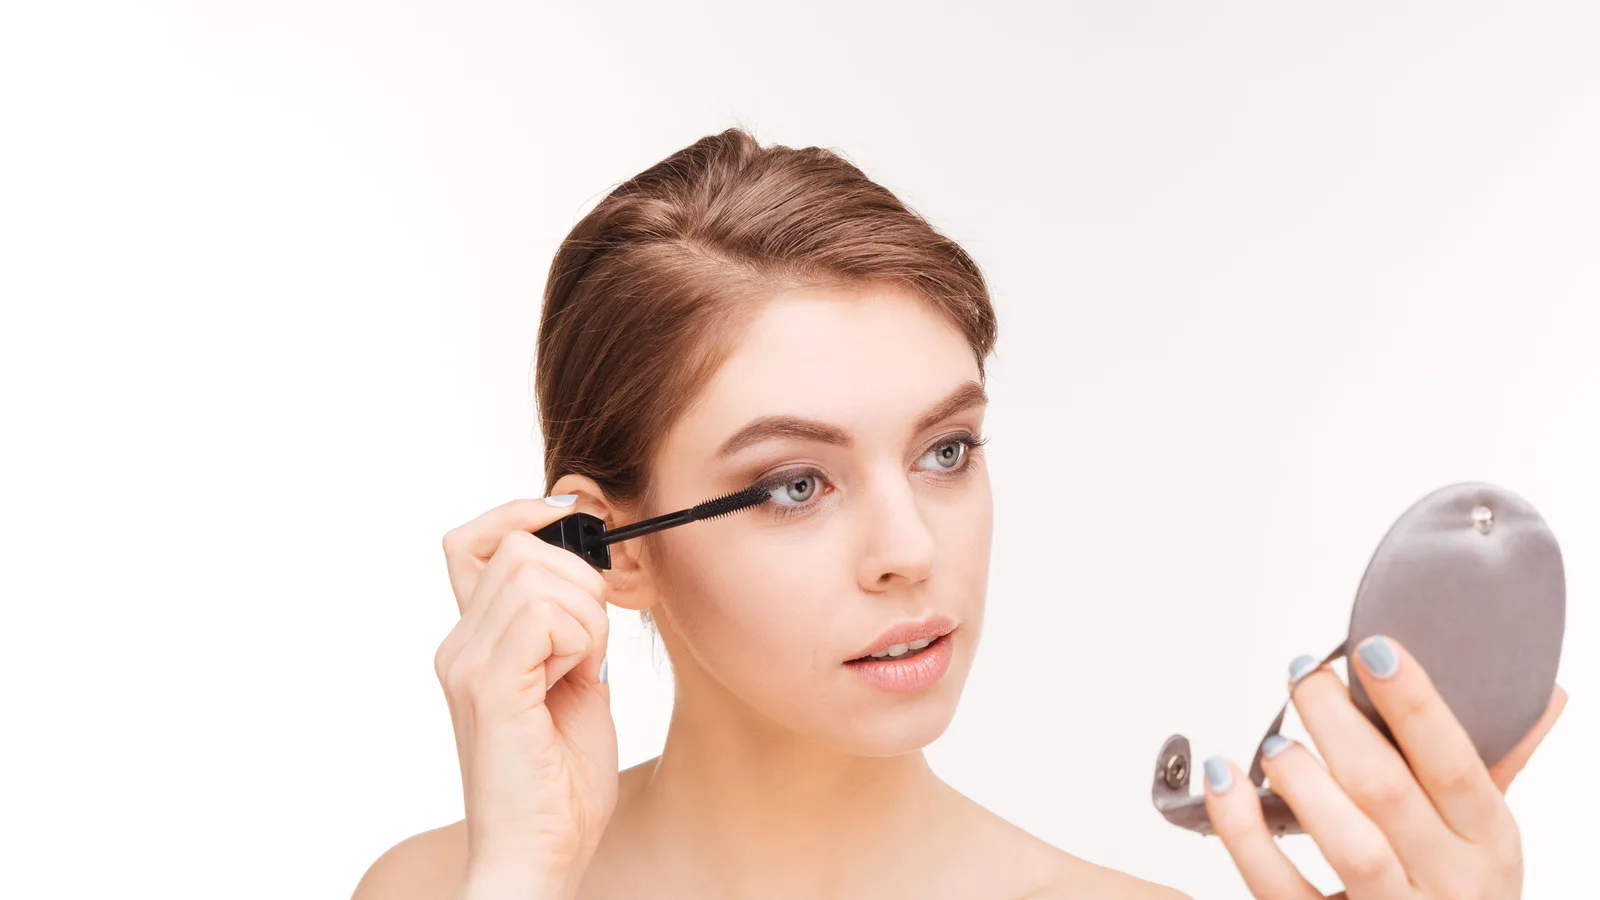
How to Stop Mascara Smudging: A Practical Guide
Stop mascara smudging with a practical routine: prep oily lids, apply less, shield the under-eye and set with powder. Plus fixes for panda eyes.
Looks, Step by Step
How to Use Colour Corrector: A Step-by-Step Guide
Colour corrector neutralises redness, dark circles and sallowness before concealer. Learn which shade to pick, how much to use and how to apply it.
Looks, Step by Step
How to Use Highlighter Makeup: Placement, Blending and Order
Learn where to place highlighter, which formula to use and how to blend it so it flatters your skin tone instead of sitting in patches.
Looks, Step by Step
How to Use Laura Geller Makeup: Baked Powders, Step by Step
A step-by-step guide to using Laura Geller baked powders: priming, swirling, tapping and buffing foundation, blush, eyeshadow and highlighter.
Looks, Step by Step